Wigs have been a fashion accessory and a practical solution for centuries, serving various purposes from concealing hair loss to enhancing personal style. Making your own wig may seem like a daunting task, but it’s a creative and rewarding process. Whether you’re looking to save money, customize your wig, or simply explore a new hobby, this beginner-friendly guide will take you through the steps of making a wig from scratch.
-
Hot Sale Airy Cap Wig
-
Top Picks Wear Go Wig
-
Wear Go Glueless Lace Wig
-
Trendy Layer Cut Wear Go
-
7x5 Prebleached Airy Wig
-
7x5 PreBleached Airy Wig
-
Flash Sale Airy Wig
-
7x5 Prebleached Airy Wig
-
Airy Cap Classic Highlight
Why make your own wig?
Before diving into the steps of making a wig, it’s essential to understand the benefits of crafting your own wig:
Cost-effective: Creating a wig yourself can be more budget-friendly than purchasing a high-quality wig, especially if you plan to make multiple wigs.
Customization: Making your own wig allows you to choose the style, color, and texture that suit your preferences perfectly.
Quality control: You have full control over the materials and construction, ensuring a long-lasting and comfortable wig.
Personal satisfaction: Crafting a wig is a creative process that offers a great sense of accomplishment.
Now, let’s explore the step-by-step process of creating a beginner-friendly wig.
Step 1: Gather your supplies.
To start making your own wig, you’ll need the following supplies:
Wig cap (net or mesh)
Hair bundles or wefts (human or synthetic hair)
T-pins or wig clips
Mannequin head and stand
Wig-making tools (needle, thread, wig cap stretcher, comb)
Scissors
Measuring tape
Wig block or canvas head
Hair glue (optional)
Step 2: Prepare the mannequin head.
Place the mannequin head on a stand at eye level. This will serve as the foundation for creating your wig. Ensure that it’s secure and stable.
Step 3: Measure your head.
Using a measuring tape, take the following measurements to determine the size of the wig cap you need:
Circumference: Measure around your head, starting from the hairline at your forehead, down to the nape of your neck, and back to the front.
Front to nape: Measure from the center of your forehead to the nape of your neck.
Ear-to-ear across forehead: Measure from one ear, across your forehead, to the other ear.
Ear-to-ear over top: Measure from one ear, over the top of your head, to the other ear.
Step 4: Choose the right wig cap.
Select a wig cap that matches the measurements you’ve taken and fits snugly on your mannequin head. There are different types of wig caps, such as net and mesh, to choose from, each with its own advantages. Net caps are often preferred for their breathability, while mesh caps provide a finer texture.
Step 5: Attach the wig cap to the mannequin head.
Secure the chosen wig cap onto the mannequin head using T-pins or wig clips. Ensure it’s stretched evenly, maintaining the measurements you took of your own head.
Step 6: Create the wig foundation.
Before adding hair, you need to create a solid foundation. This is done by stitching the wig cap in place. You can use a weave-in method to sew the cap to the mannequin head. This will make sure it doesn’t shift during the wig-making process.
Step 7: Prepare the hair bundles.
Now comes the exciting part – preparing the hair. You can use human hair or synthetic hair, depending on your preference and budget. When working with synthetic hair, choose high-quality, heat-resistant fibers for the best results.
Cut the hair into manageable lengths, keeping in mind the desired hairstyle and length of your wig.
Create hair “wefts” by sewing the hair onto a strip of fabric. These wefts will be attached to the wig cap. Ensure that the wefts are evenly distributed across the fabric strip.
Sort the hair wefts by length and color to make it easier to attach them in the desired order.
Step 8: Attach the hair wefts.
Starting at the nape of the wig cap, use a curved needle and thread to attach the hair wefts. Here’s how:
Thread the needle and tie a knot at the end of the thread.
Insert the needle through the weft and then through the wig cap, securing the weft in place.
Continue attaching wefts, working your way up from the nape to the crown of the wig, making sure each weft is close to the previous one.
Repeat the process until the entire cap is covered with wefts, leaving the top portion unattached for now.
Step 9: Ventilate the wig cap.
Ventilating is the process of creating a natural hairline by adding individual hairs to the wig cap. This step requires patience and precision, as you’ll be knotting one hair at a time.
Thread a ventilating needle with a strand of hair that matches the color and texture of the wig.
Pull the needle through the wig cap, bringing the hair with it.
Create a small knot by looping the hair around the needle and pulling it through the cap.
Repeat this process across the front hairline of the wig to achieve a realistic appearance.
Step 10: Cut and style your wig.
Once the entire wig cap is covered with hair wefts and the front hairline looks natural, it’s time to style your wig to your liking.
Cut the hair to your desired length, keeping in mind the wig’s style and your preferences.
Style the wig using heat tools, if it’s made from heat-resistant hair, or with setting products and rollers for synthetic hair.
Add layers, curls, or waves as needed to create your chosen hairstyle.
Step 11: Secure the front hairline.
To ensure the front hairline looks natural and stays in place, you can use a small amount of hair glue or adhesive specifically designed for wigs.
Apply a thin, even layer of adhesive along the front edge of the wig cap.
Gently press the front hairline of the wig onto the adhesive, taking care to align it with your natural hairline.
Allow the adhesive to dry and set completely before wearing your wig.
Step 12: Final adjustments.
With your wig constructed and styled, take a few final steps to ensure it’s comfortable and secure:
Trim any excess lace or fabric from the wig cap near the front hairline, making it blend seamlessly with your skin.
Adjust the wig cap’s straps to ensure a snug and comfortable fit on your head.
Make any necessary touch-ups or style adjustments to achieve your desired look.
Most popular human hair wigs for you.
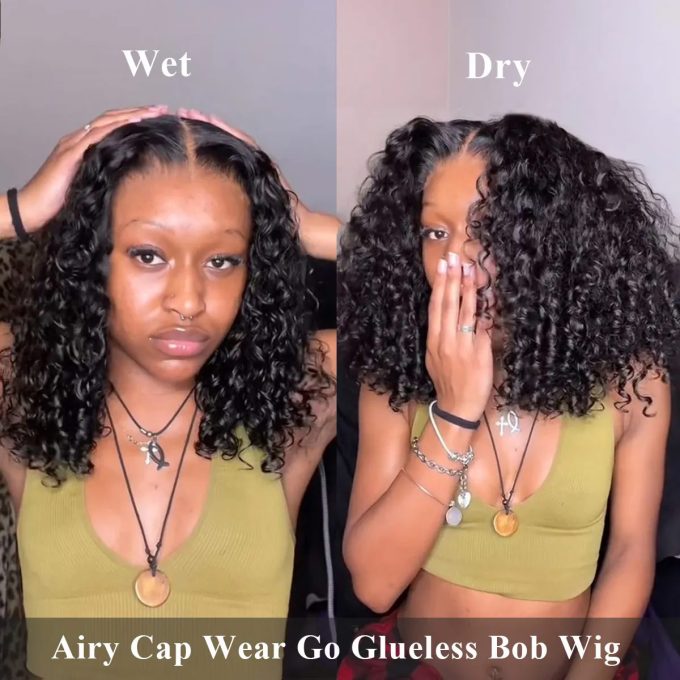
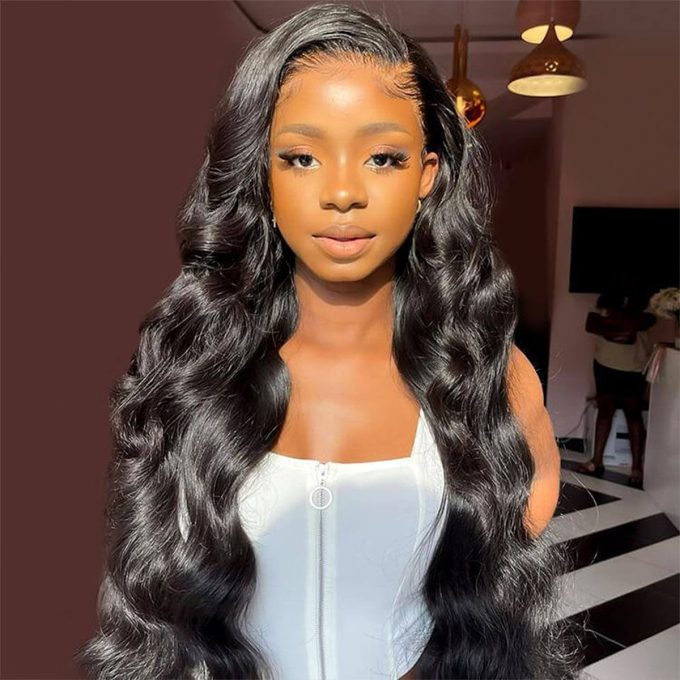
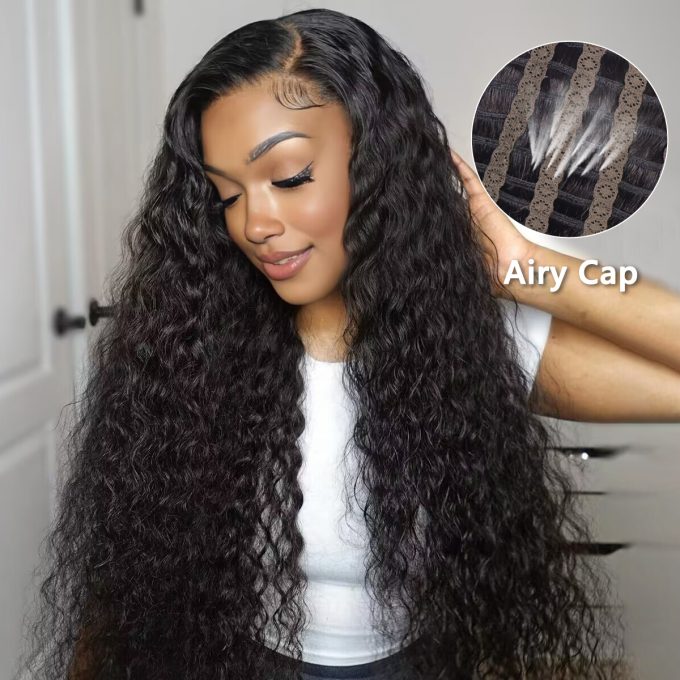
Breathable Airy Cap Water Wave Wear Go Glueless Wig Updated 9×5 6×5 Pre Cut Lace Wig
Introducing the Most Popular Water Wave Wig from StarShow Hair!
Are you in search of the perfect balance between convenience and style in a human hair wig? Look no further! StarShow Hair proudly presents our “Breathable Airy Cap Water Wave Wear Go Glueless Wig.” This innovative product is tailored to meet your hair needs with a modern twist.
Key features:
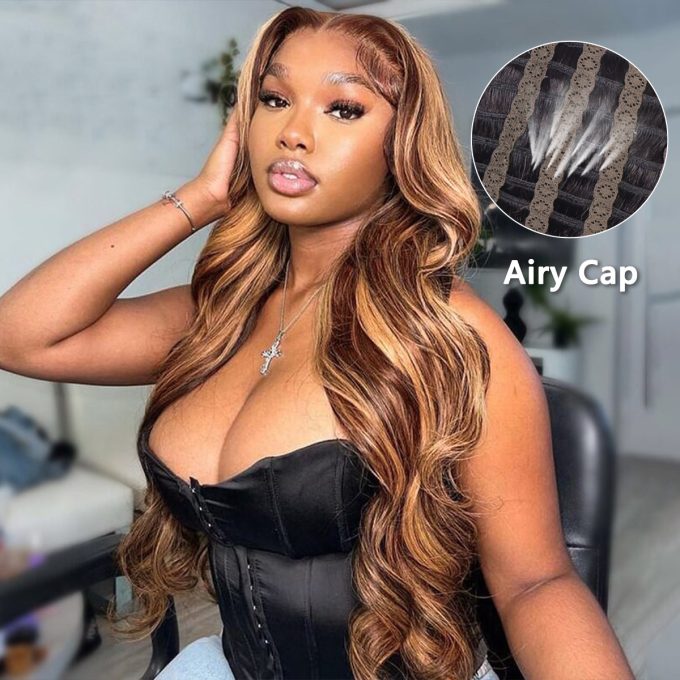
Breathable airy cap: Designed for maximum comfort and ventilation, our wig cap lets your scalp breathe, ensuring you stay cool all day.
Water wave style: Experience the timeless beauty of water wave texture, adding a touch of elegance and sophistication to your look.
Wear & go: No more hassle with glue or adhesives. This wig is glueless, making it a breeze to wear and remove.
Updated 9×5 and 6×5 pre cut lace: Our lace design ensures a natural and seamless hairline, ready to wear right out of the box.
Upgrade your wig game with this incredible water wave wig from StarShow Hair. Achieve the perfect blend of convenience and style in one stunning package.
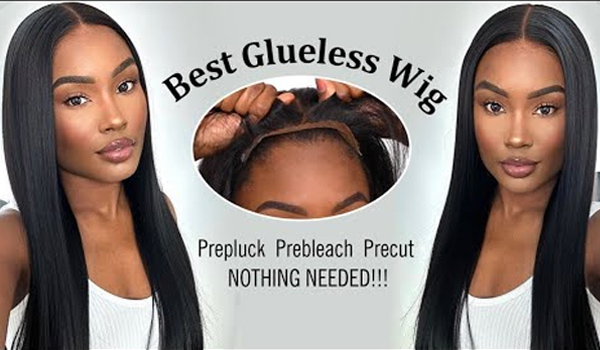
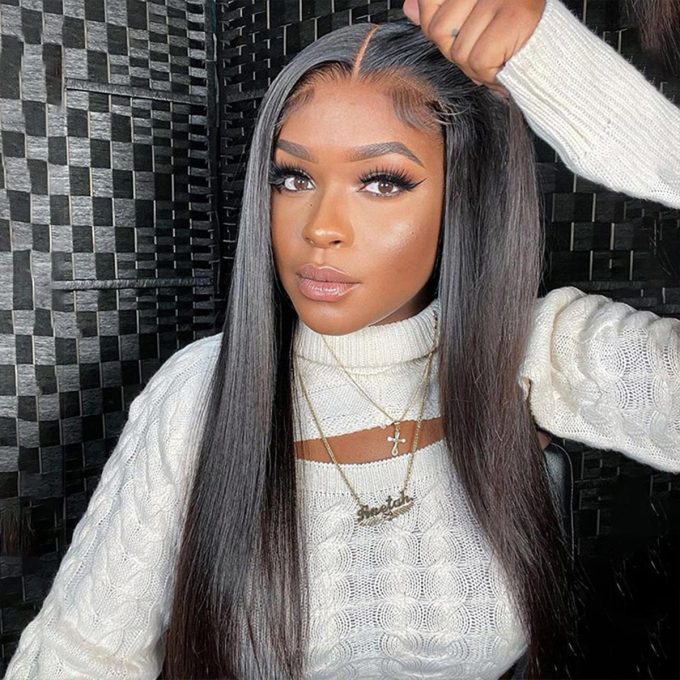
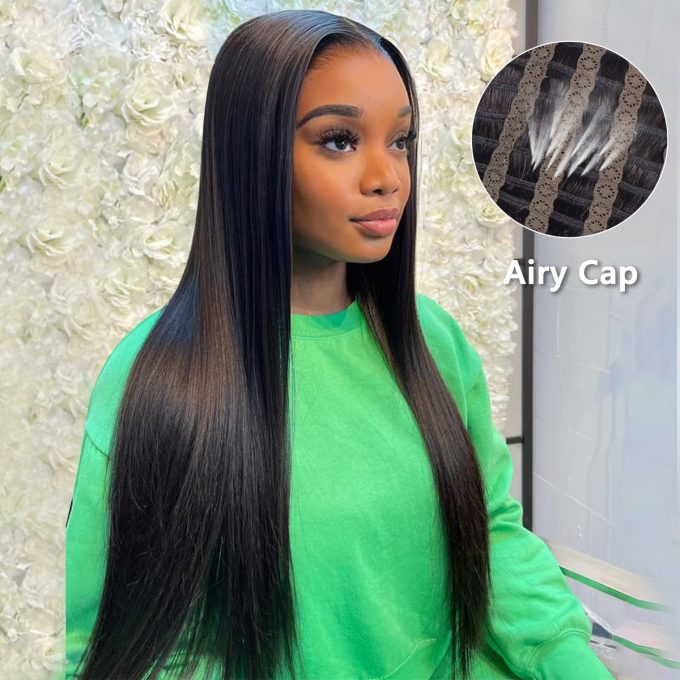
Glueless Straight Human Hair Wig 13×4 5×5 HD Lace Full Frontal Wig Pre Bleached Knots
Get Red Carpet-Ready with StarShow Hair’s Glueless Straight Human Hair Wig!
Elevate your beauty routine with our “Glueless Straight Human Hair Wig” by StarShow Hair. This is your ticket to achieving that effortlessly glamorous look without the fuss.
Key features:
Glueless design: Say goodbye to messy adhesives and hello to easy application and removal.
13×4 and 5×5 HD lace: Our high-definition lace ensures a natural, undetectable hairline, allowing you to rock any style with confidence.
Full frontal wig: Experience ultimate freedom in styling, as you can part your hair in any direction you desire.
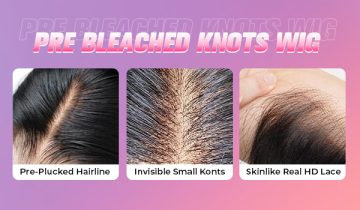
Pre-bleached knots: Achieve the most realistic look with knots that mimic the look of a natural hairline.
With StarShow Hair’s Glueless Straight Human Hair Wig, you’ll be ready for any event, from casual outings to red carpet affairs. Get ready to shine!
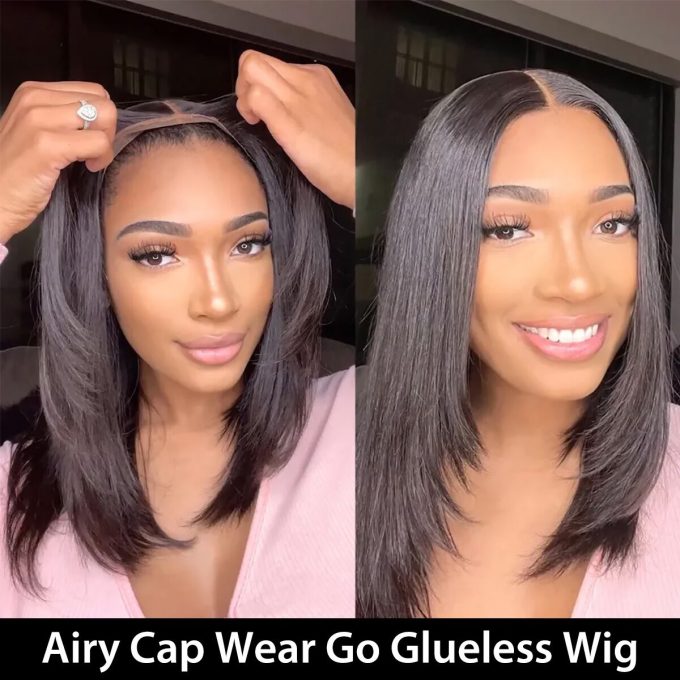
Breathable Airy Cap Straight Layered Cut Wig Trendy Short Put On And Go HD Lace Wig
Discover the Perfect Short, Layered Wig at StarShow Hair!
Looking for a chic and trendy short wig that’s both hassle-free and fashionable? StarShow Hair presents the “Breathable Airy Cap Straight Layered Cut Wig” – the solution to your style needs.
Key features:
Breathable airy cap: Experience unmatched comfort with our innovative cap design, keeping you cool all day long.
Short & layered: Stay on-trend with a short, layered cut that’s perfect for any occasion.
Put on and go: Forget about the complexities of wig application. This wig is designed for quick and easy wear.
HD lace: Our high-definition lace creates a flawless, natural hairline for a seamless look.
Change your everyday style with the “Breathable Airy Cap Straight Layered Cut Wig” from StarShow Hair. Embrace the effortless elegance of a short, layered look.
Be brave.
Creating a wig from scratch may be a meticulous process, but it’s a rewarding endeavor that allows for endless customization and creativity. By following these step-by-step instructions, even beginners can craft their own wigs with the perfect style, fit, and quality.
As you gain experience and confidence in wig-making, you can explore more advanced techniques, experiment with different materials, and refine your skills. Whether you’re making wigs for personal use, as a creative outlet, or even as a potential business venture, this beginner-friendly guide is your foundation for mastering the art of wig-making. So, start your journey today and embrace the world of custom wigs tailored to your unique style and preferences.




 No products in the cart.