Putting on a wig you made and getting nice compliments from people about it can leave you with a good feeling. However, many beginner DIYers may think wig-making is something that should only be left to the professionals. That is not fact. What is true is that anybody can learn how to make a wig as long as they are interested. If you’re one of such people interested in this, then this article is for you. As you continue reading, you will learn how to make a wig like a professional.
Here Are The Advantages of Making Your Wig
There are many perks that come with making your own wig. They include:
1. You Get A Custom Fit
When shopping for wigs, many people encounter the issue of buying wigs that are too tight or loose on their heads. On the other hand, making your wig enables you to control the fit. This way, you can wear a secure and comfortable fitted wig on your head. When you make your wig, you can also decide the length and fullness of the wig.
2. It Saves You Money
Quality ready-made wigs can be expensive and cut deep into your budget especially if you don’t have a big budget. This is because the cost of these wigs includes production costs and profits, among others. On the other hand, making your wig is much more affordable as you’ll only be spending money on buying supplies.
3. You Choose Its Quality and Style
One of the perks of making your wig is that you get to source quality materials by yourself. This way, you can wear your own quality wig.You can also decide to create a unique personalized style such as curly, straight, colored hair, etc.
4. It Is Convenient
Sometimes, you may have a wig style in mind but encounter difficulties finding one that suits your preference. Making your wig is convenient as it saves you this stress.
5. It Boosts Your Confidence
Knowing how to make a wig is an addition to your skills which in turn helps to boost your confidence. This shows that you can accomplish what you set your mind to.
Why You Should Have The Right Tools/Materials
Before you proceed to make your wig, it is important that you understand why you should have the right tools. When combined with the right technique, the right tools can make the difference between professional work and a shoddy job. Here are the reasons you should use the right tools:
1. They Help To Ensure Accuracy
Accuracy is non-negotiable if you want to create a wig with minimal imperfections. The right tools help to ensure that your wig stays perfectly on your head and has neat finishing. As such, they will help you get accurate measurements of your head, stitching, and trims, among others.
2. The Right Tools Ensure Quality Finish
Broken or wrong tools can make a mess out of your work. They can also prevent your wig from lasting longer. For example, the right needle and thread combined with the right technique will result in a quality finish. Also, when you use a blow-dryer to straighten your wig, it will give it a sleek and perfect finish.
3. They Make Your Work Easier
The right tools make it easier and faster for you to work. On the other hand, broken or wrong tools can slow you down while working. For example, you may struggle with trying to fit the thread if you’re using the wrong needle. Also, if you don’t have a mannequin head, you may struggle with getting your wig to stay put while you work. This can be a frustrating and time-consuming experience.
4. They Save You Money
When you buy the right tools, they can last you for a long period. This means you can use them to make other wigs or even for other relevant purposes. On the other hand, you may not be able to use the wrong tools and as such have to spend extra to buy the correct ones.
5. They Give You Consistency
If you want to keep making more wigs, the right tools will help you get consistent results. For example, using the right tools for head measurements will ensure that your measurements remain accurate for every wig you create.
6. They Help You Explore Your Creative Side
Because the right tools make your work easier, you’re better inspired to be creative. For example, the right combs and brushes can inspire you to create unique different styling options.
How To Make A Wig: Easy Steps
Now that you know the benefits and the importance of having the right tools, it’s time to make your wig.
Watch this beginner-friendly video by Ambre Renee on how to DIY a wig at home:
These are the materials you will need:
- Your frontal or closure hair
- 4 bundles of hair
- Wig cap
- Metallic or white marker
- Mannequin head
- Mannequin head holder
- Curved tip needle and thread
- Hair clip
- A pair of scissors
- T-pins
- Sewing machine (optional)
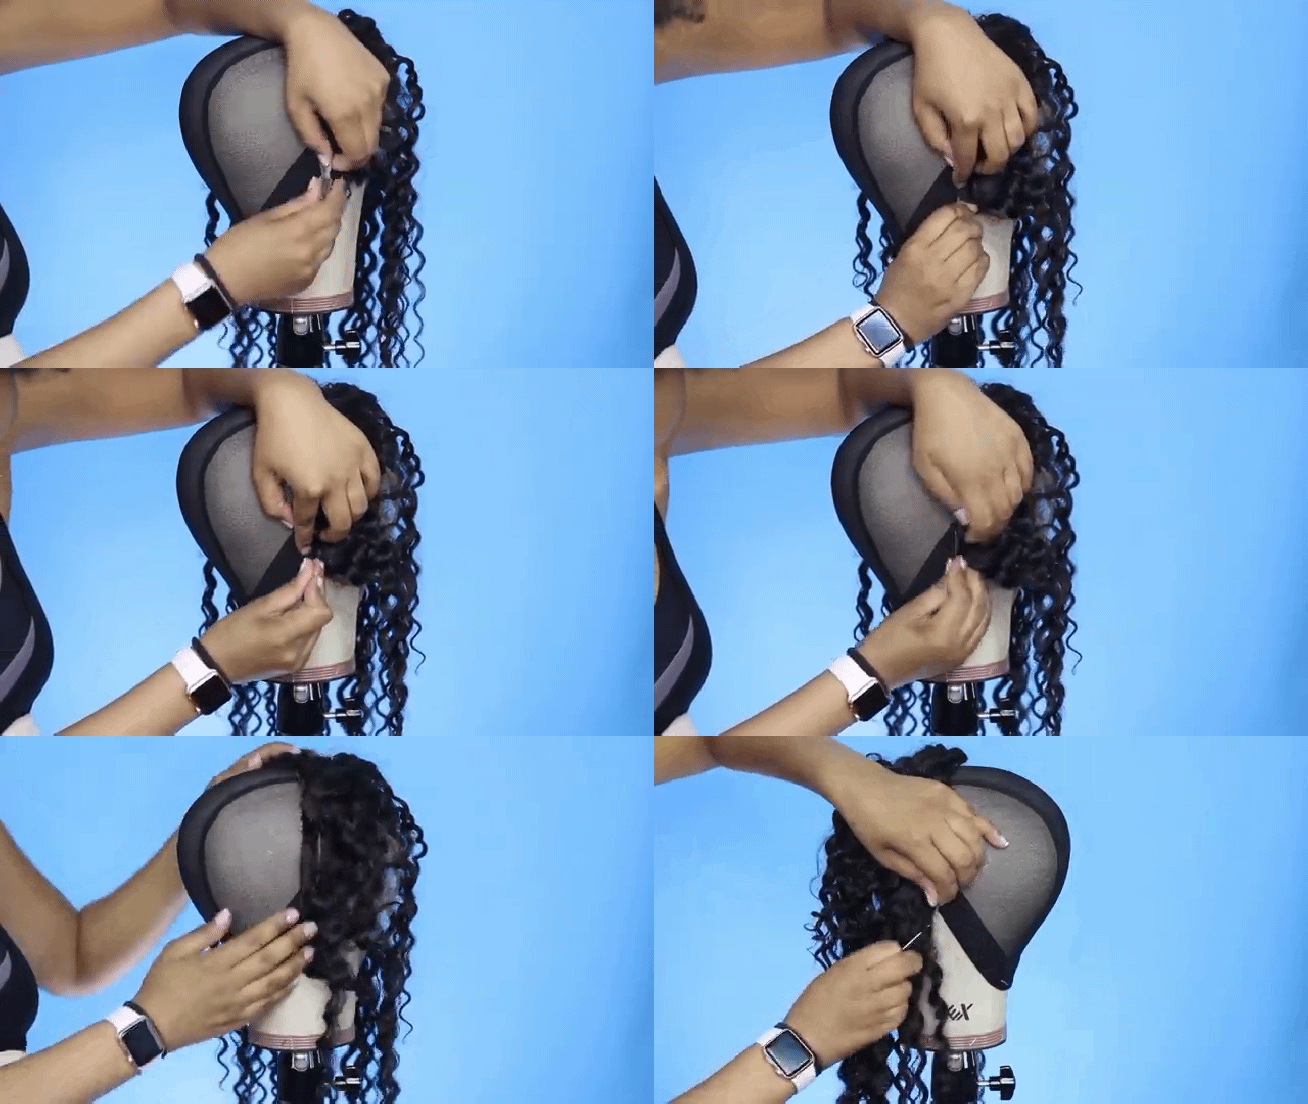
1. Secure The Wig Cap On The Mannequin Head
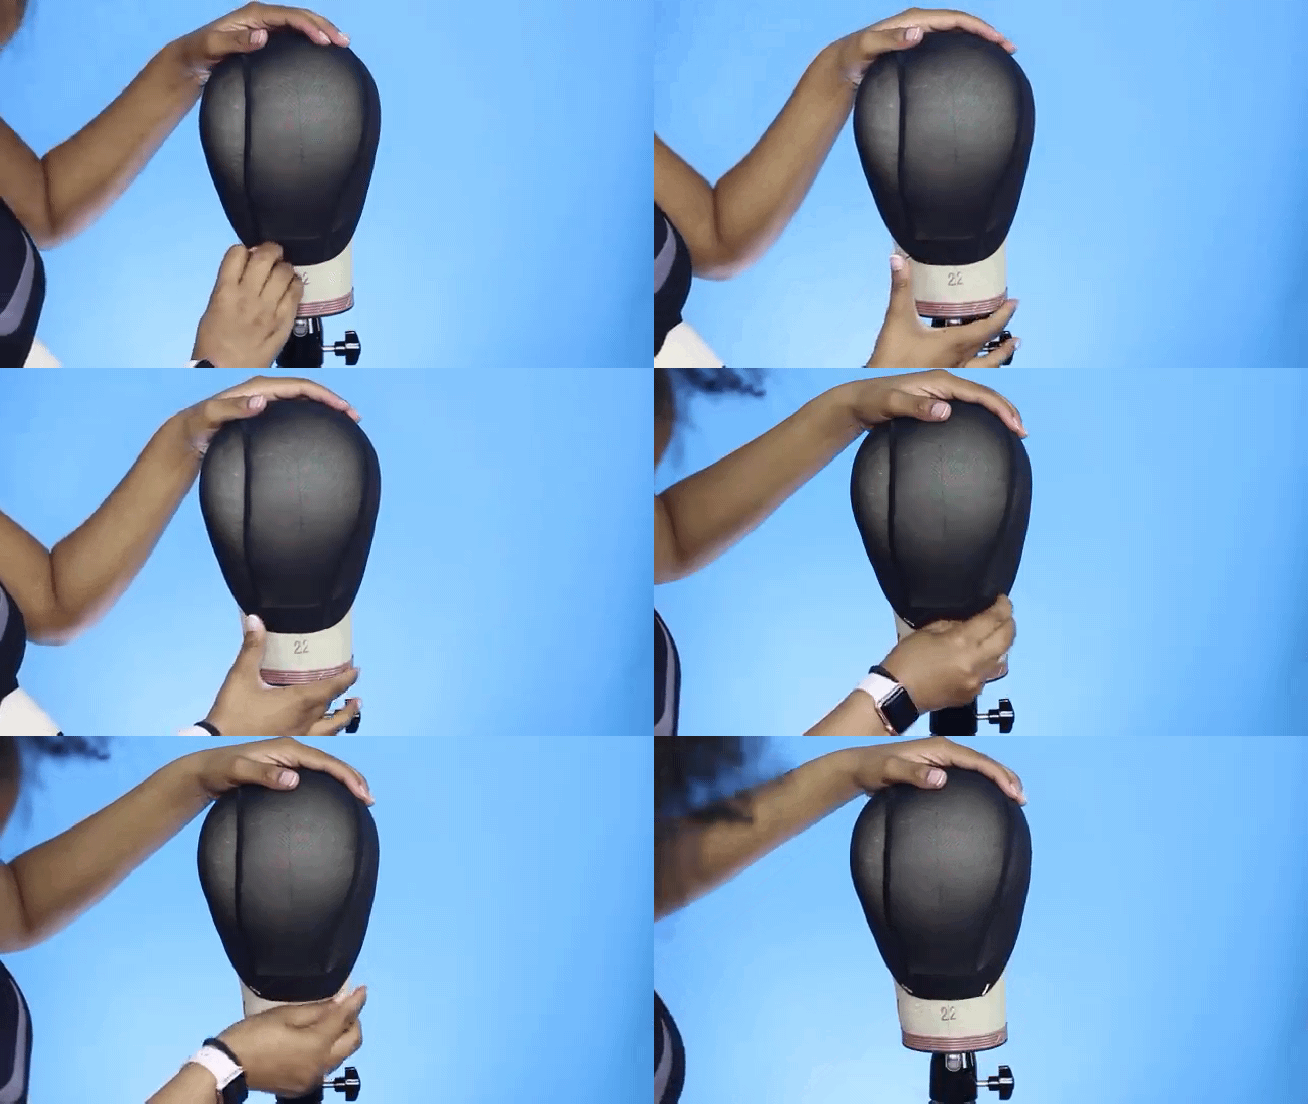
- Place the wig cap on the mannequin head and stretch it out. Before you do this, make sure the wig cap is the right size for your head. This way, it will fit your head properly.
- Use two of your T-pins to pin the cap at the nape.
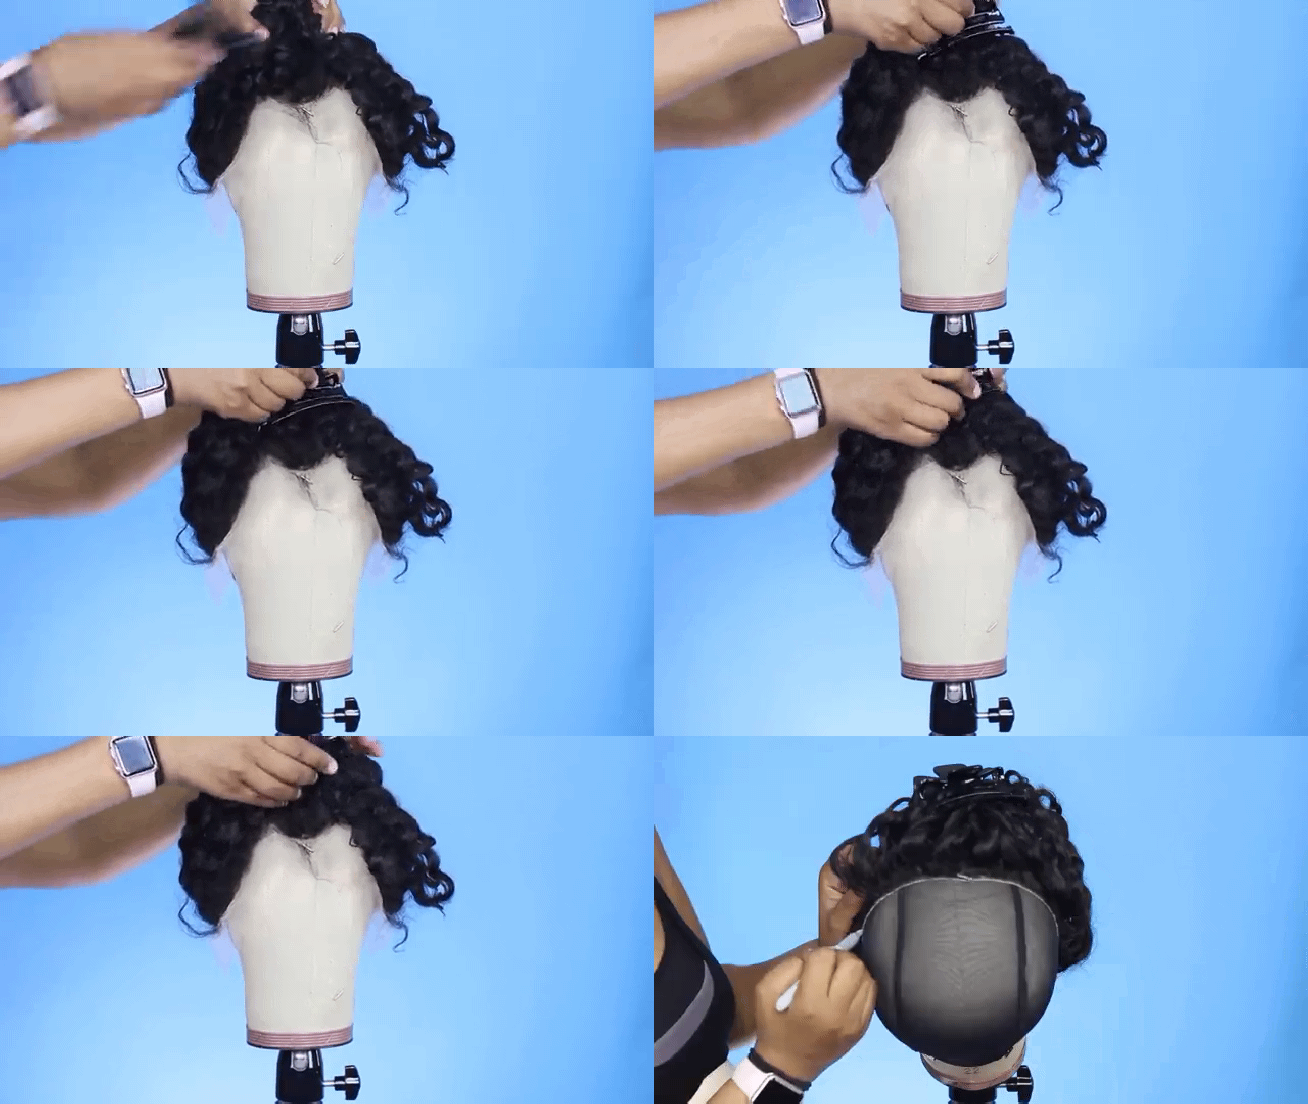
2. Pin The Frontal/Closure Hair
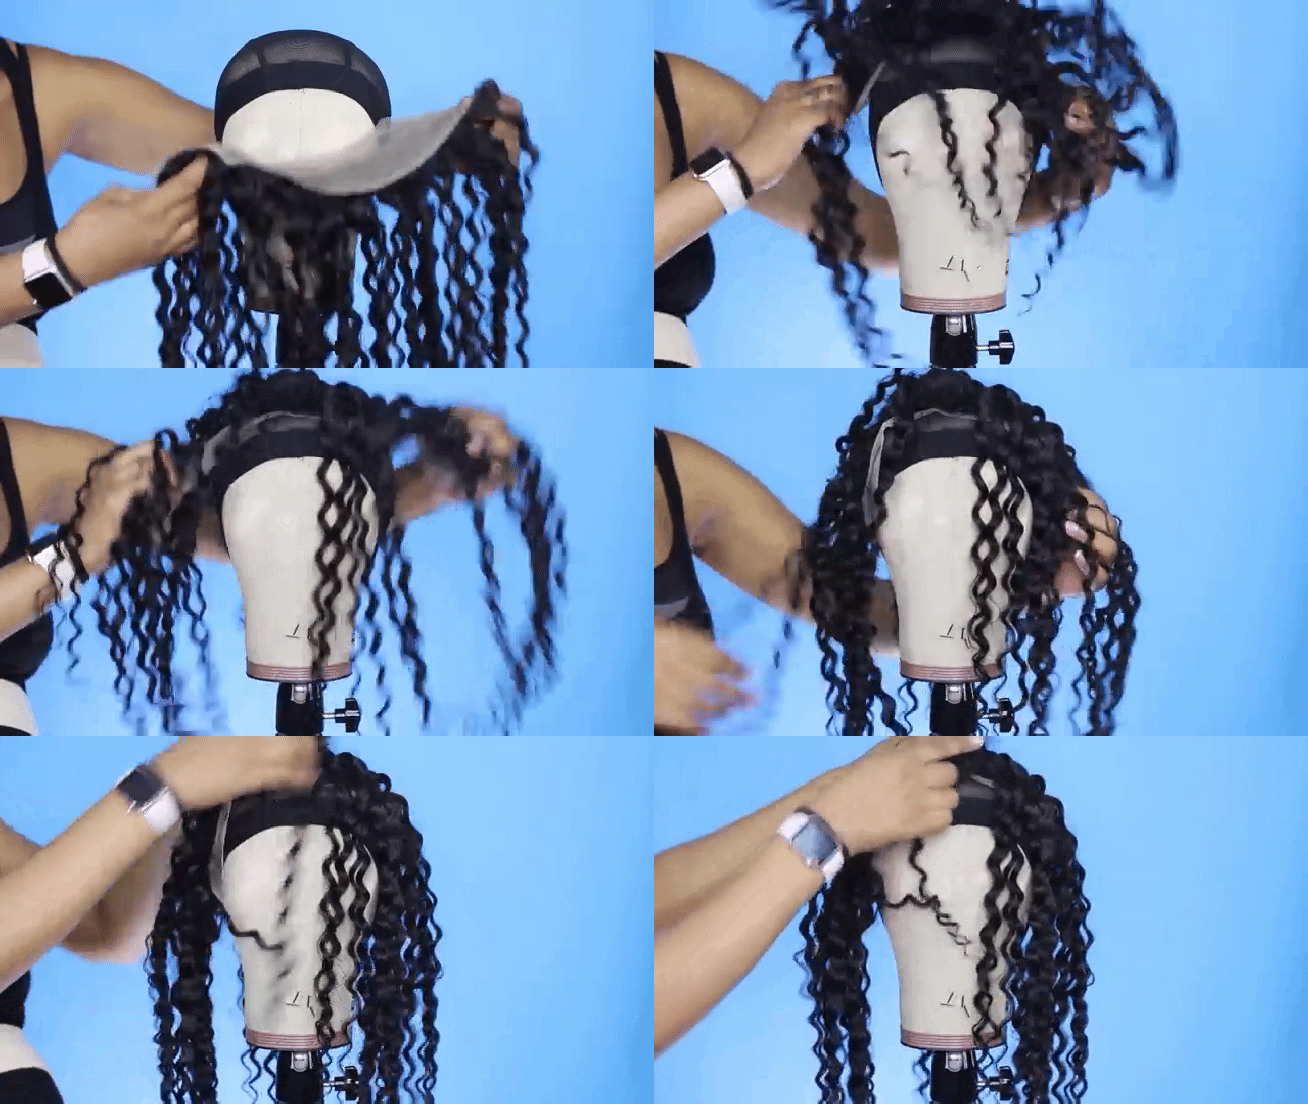
- Next, place the frontal/closure hair on top of your mannequin head and make sure it is properly in the centre. Pin it down.
- After this, pull the frontal/closure ¼ inch away from the hairline and pin.
- Then pin the end of the frontal/closure sides to the end of the sides of your wig cap.
- When you have done this, pull the hair of the frontal/closure up and clip. This will make it easier for you to trace the outline onto the cap.
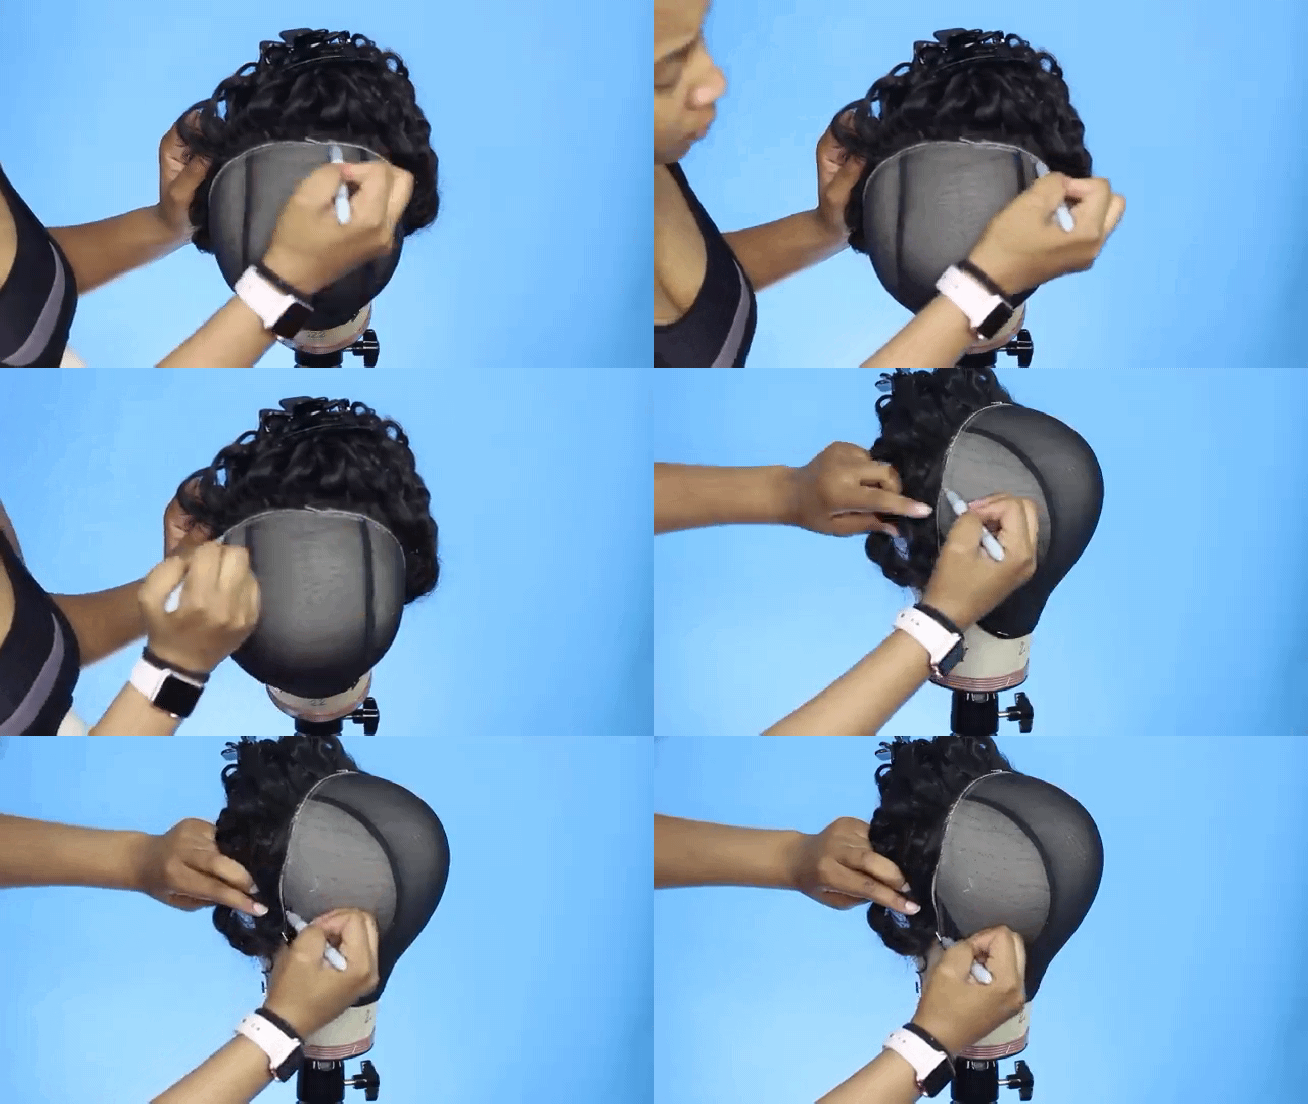
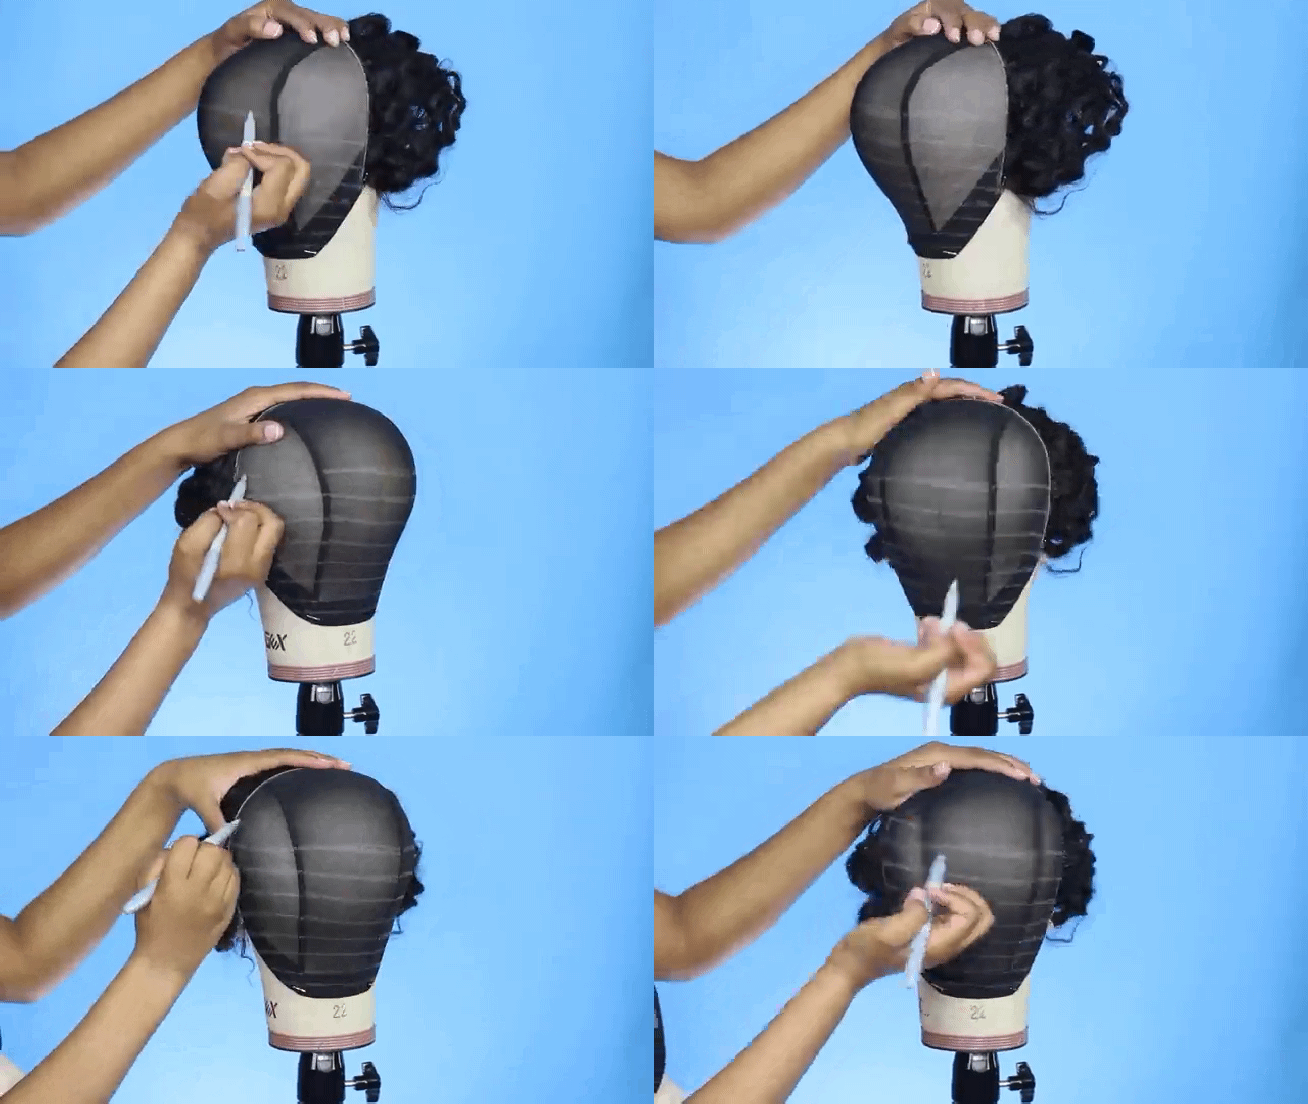
3. Create The Lines
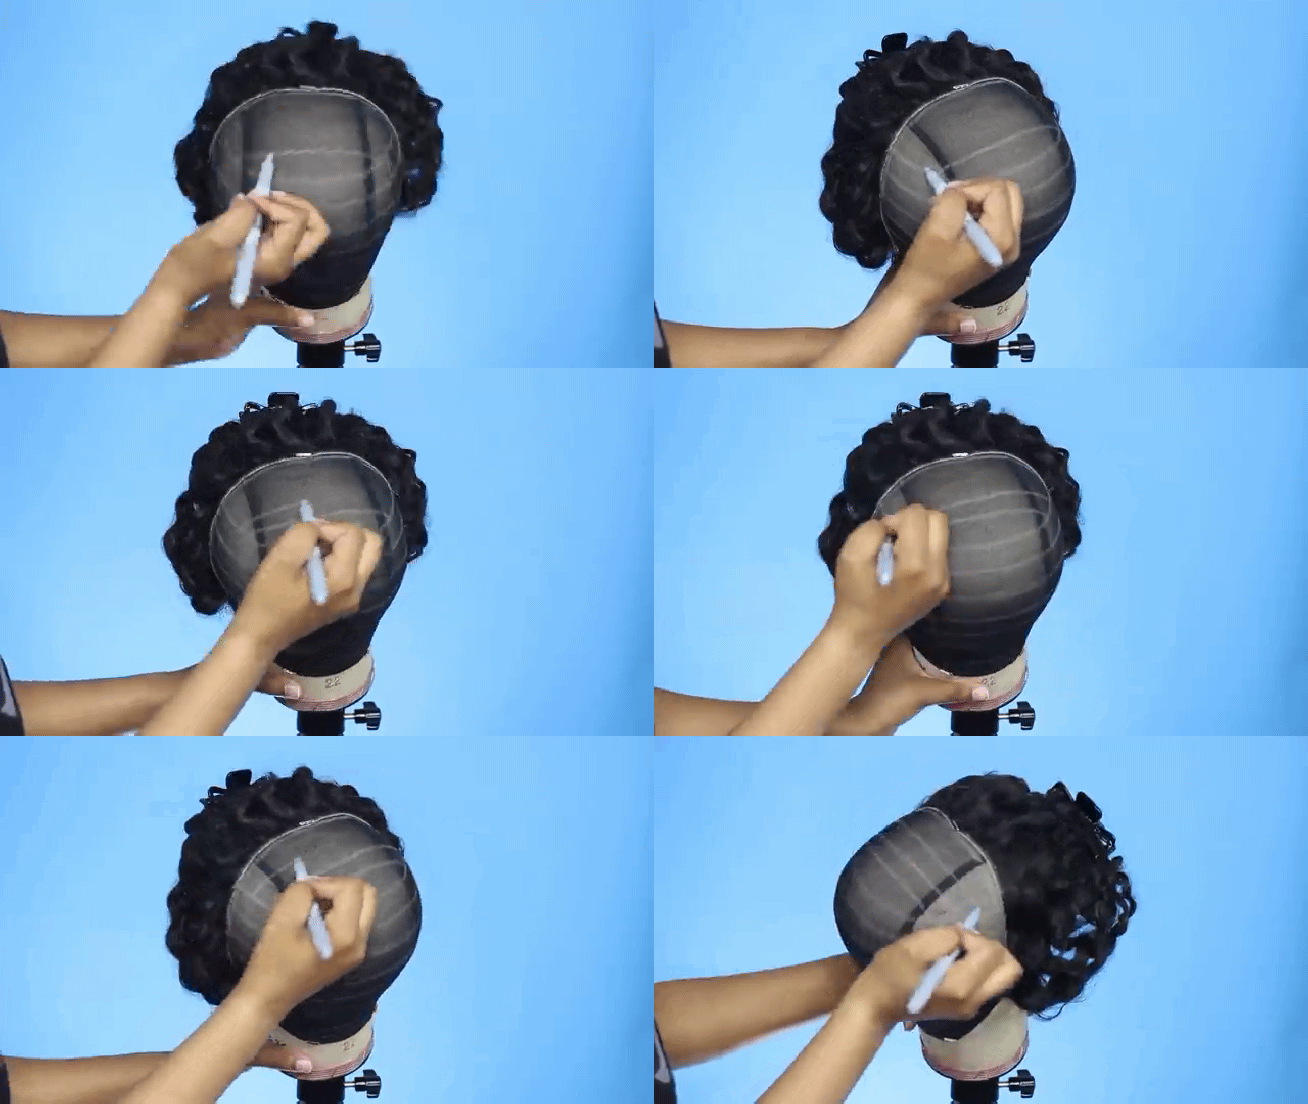
- Now, use your metallic marker to trace the outline of the back of your frontal/closure onto the wig cap.
- After this, draw out straight horizontal curved lines which will be the foundation for laying your weaves. Make sure the lines are a finger width apart.
- When you get to the crown of your mannequin head, draw straight lines from one curved line end to the other.
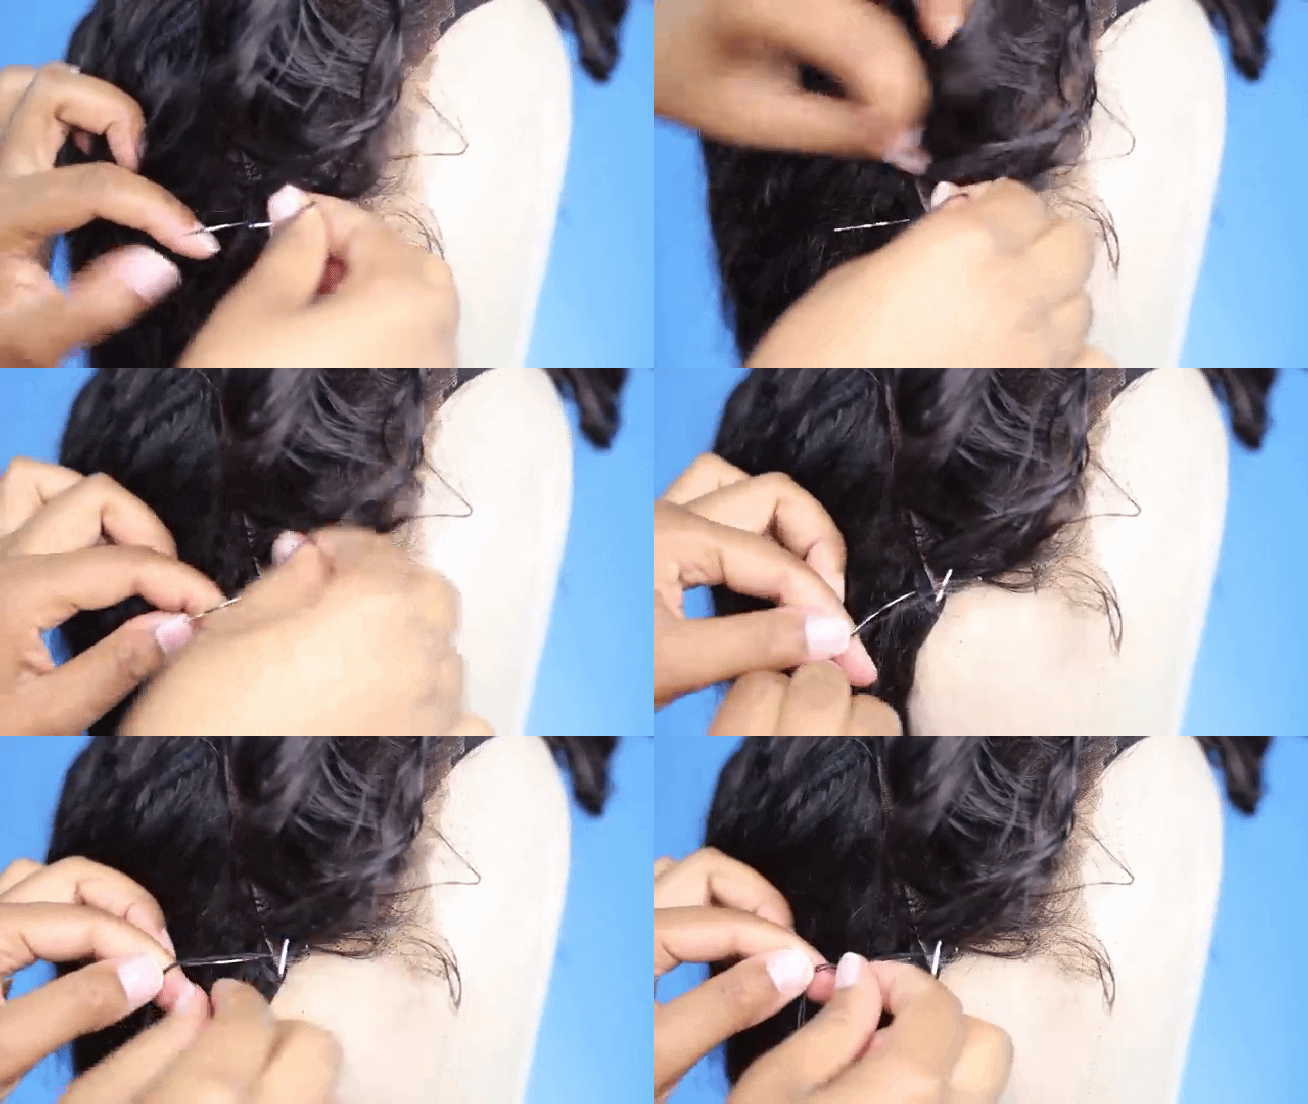
4. Threading and Sewing By Hand Method
A sewing-by-hand method is a good option if you don’t have a sewing machine. The only downside to it is that it may be more time-consuming when compared to using a sewing machine.
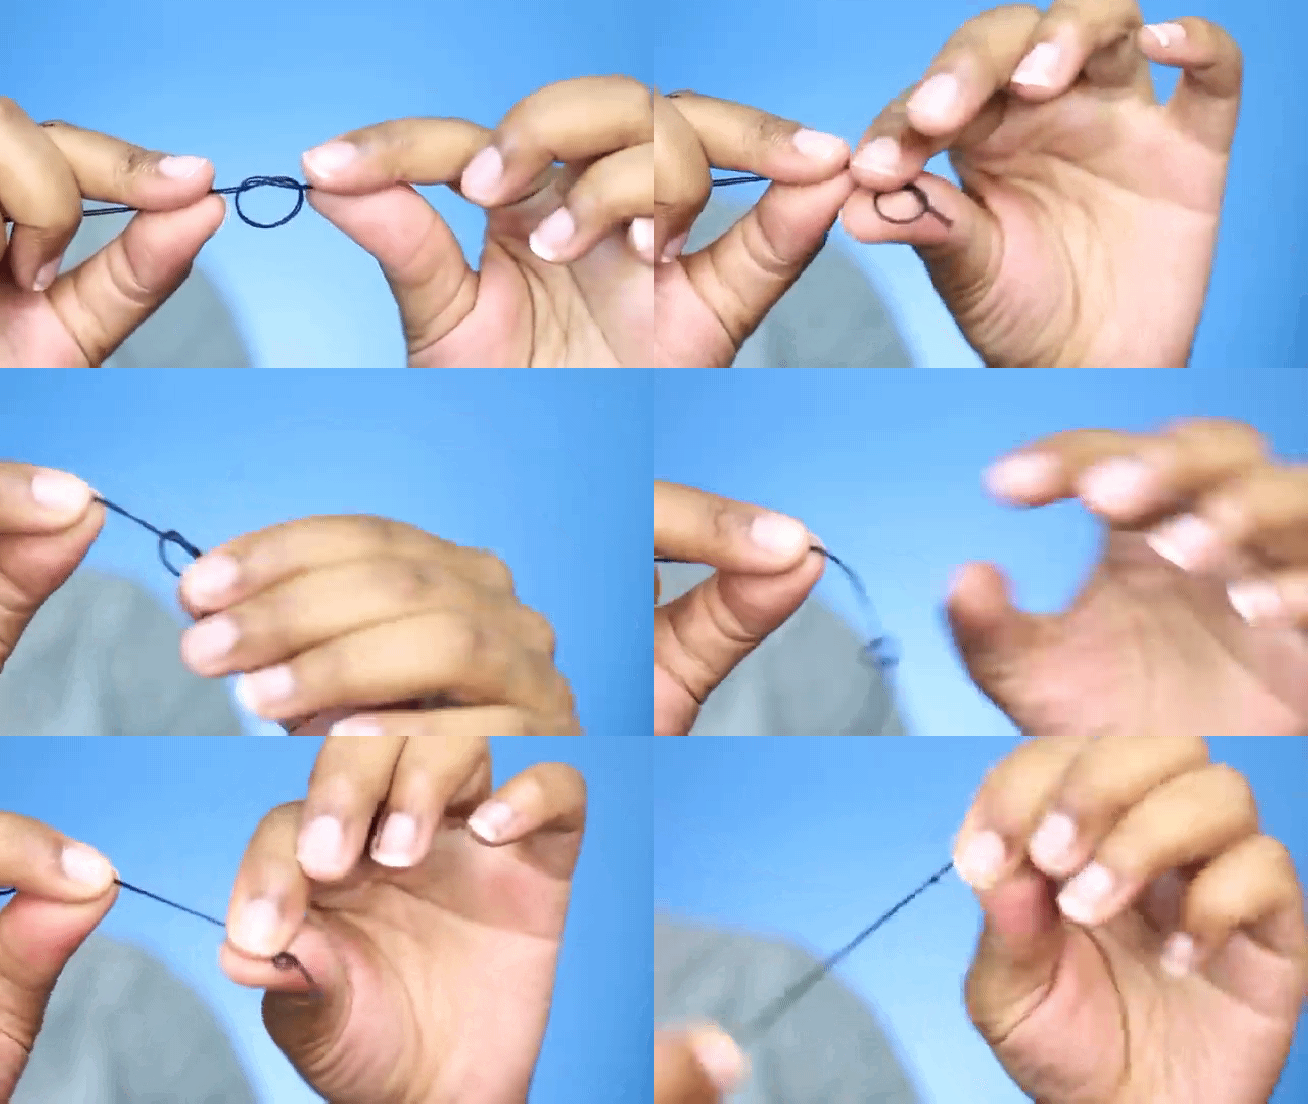
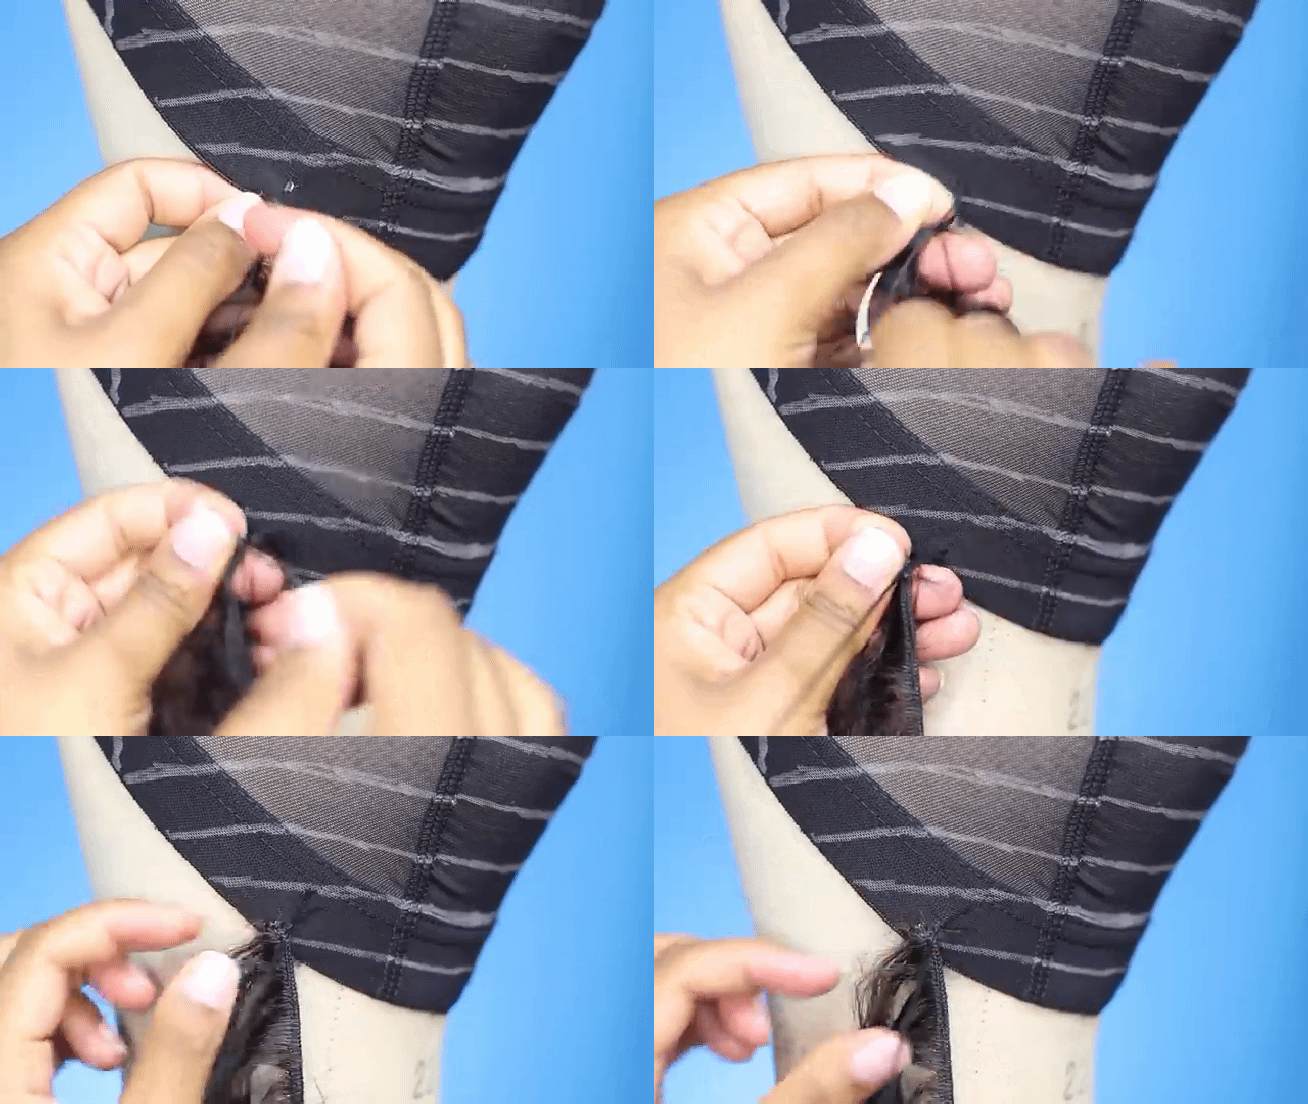
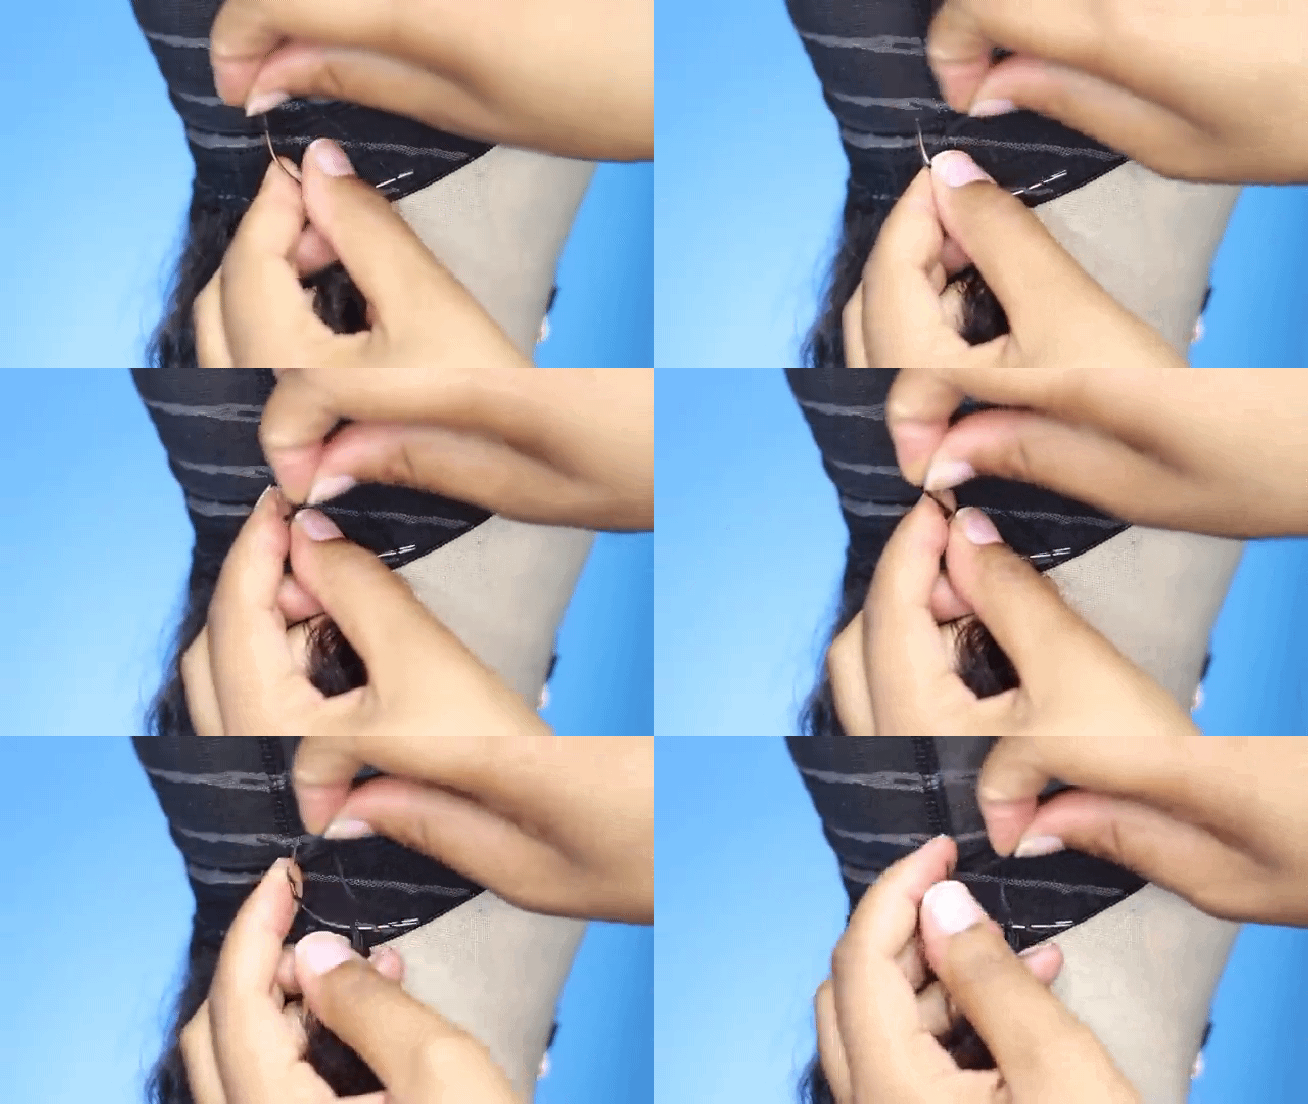
- Insert the thread into the eye of the curved needle and make a knot at the end of the thread.
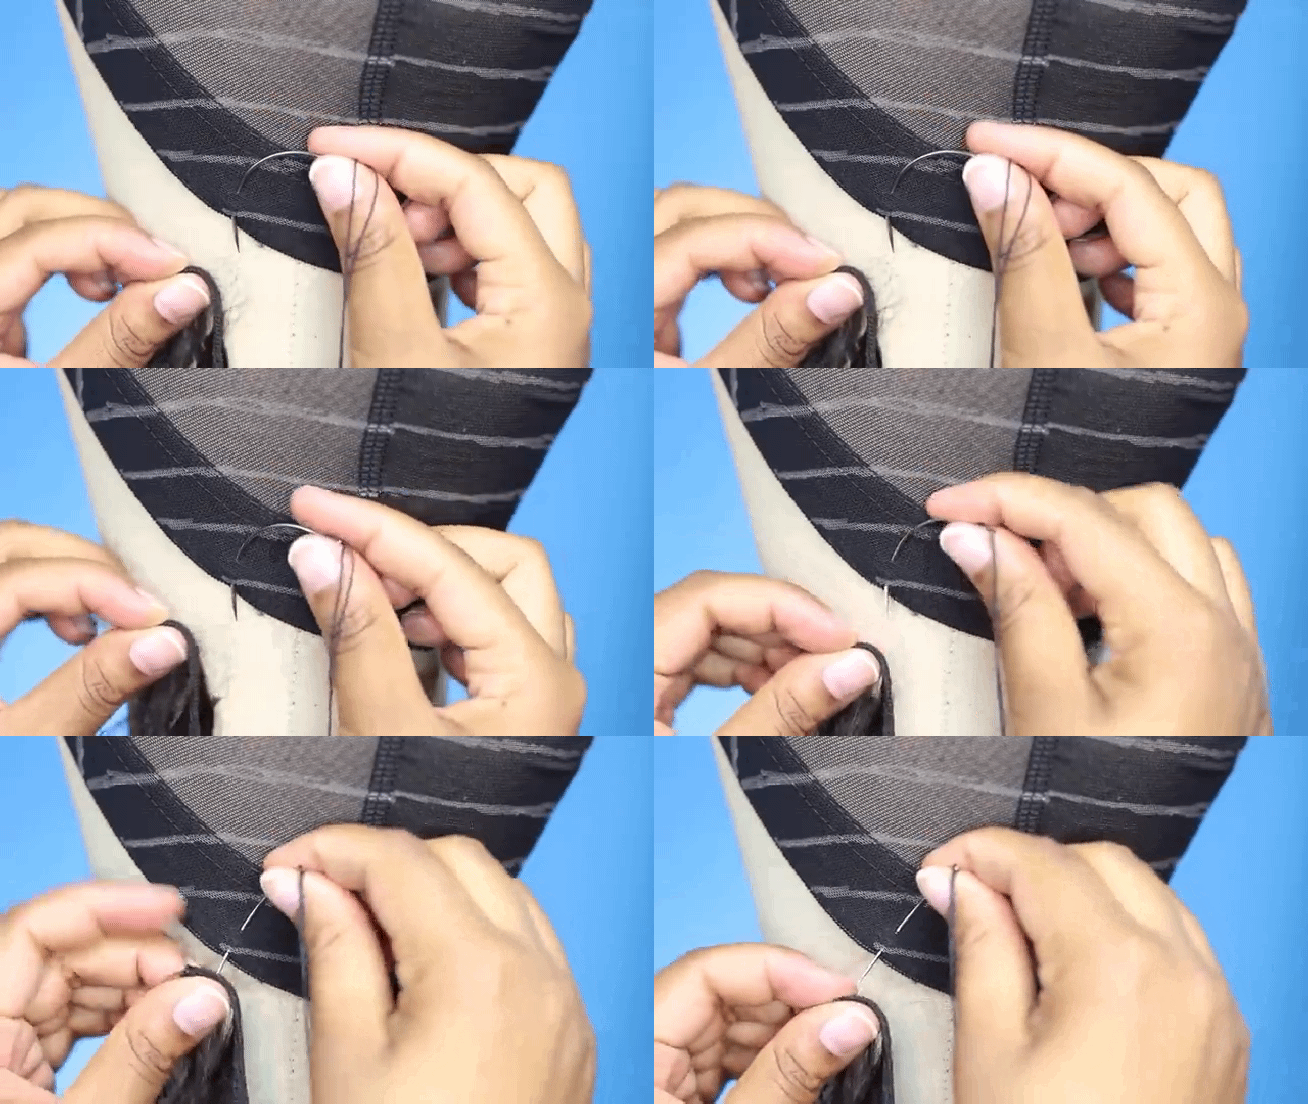
- After this, insert the sharp end of the needle at the beginning of the line on the nape of the cap.
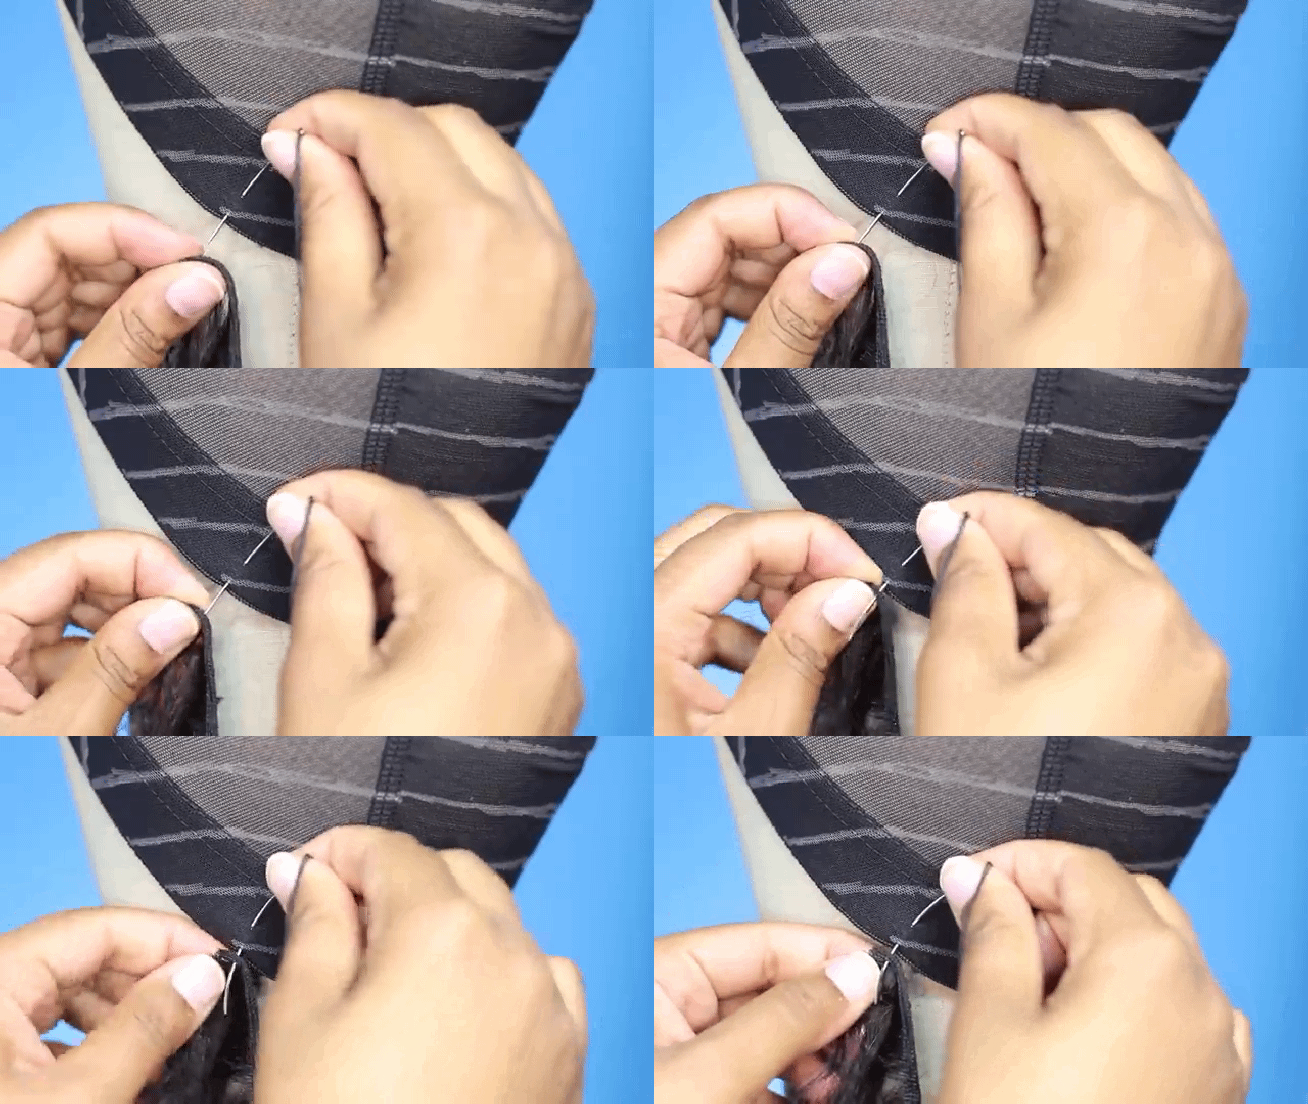
- Then put the needle through the weft of one of the bundles and pull. The knot you created earlier will help secure the weft onto the wig cap.
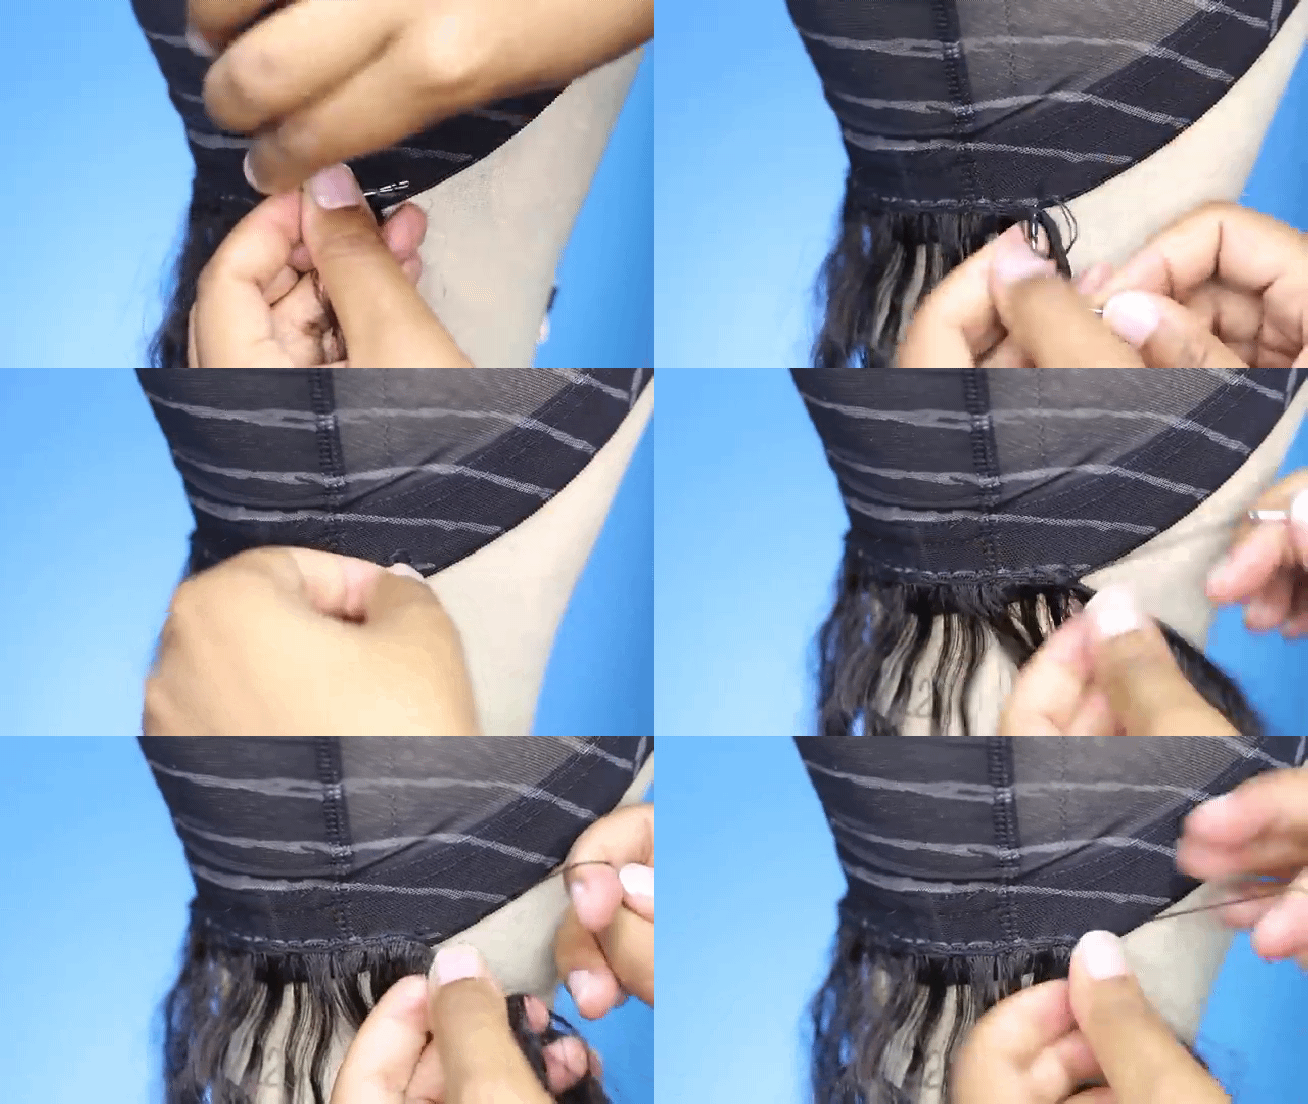
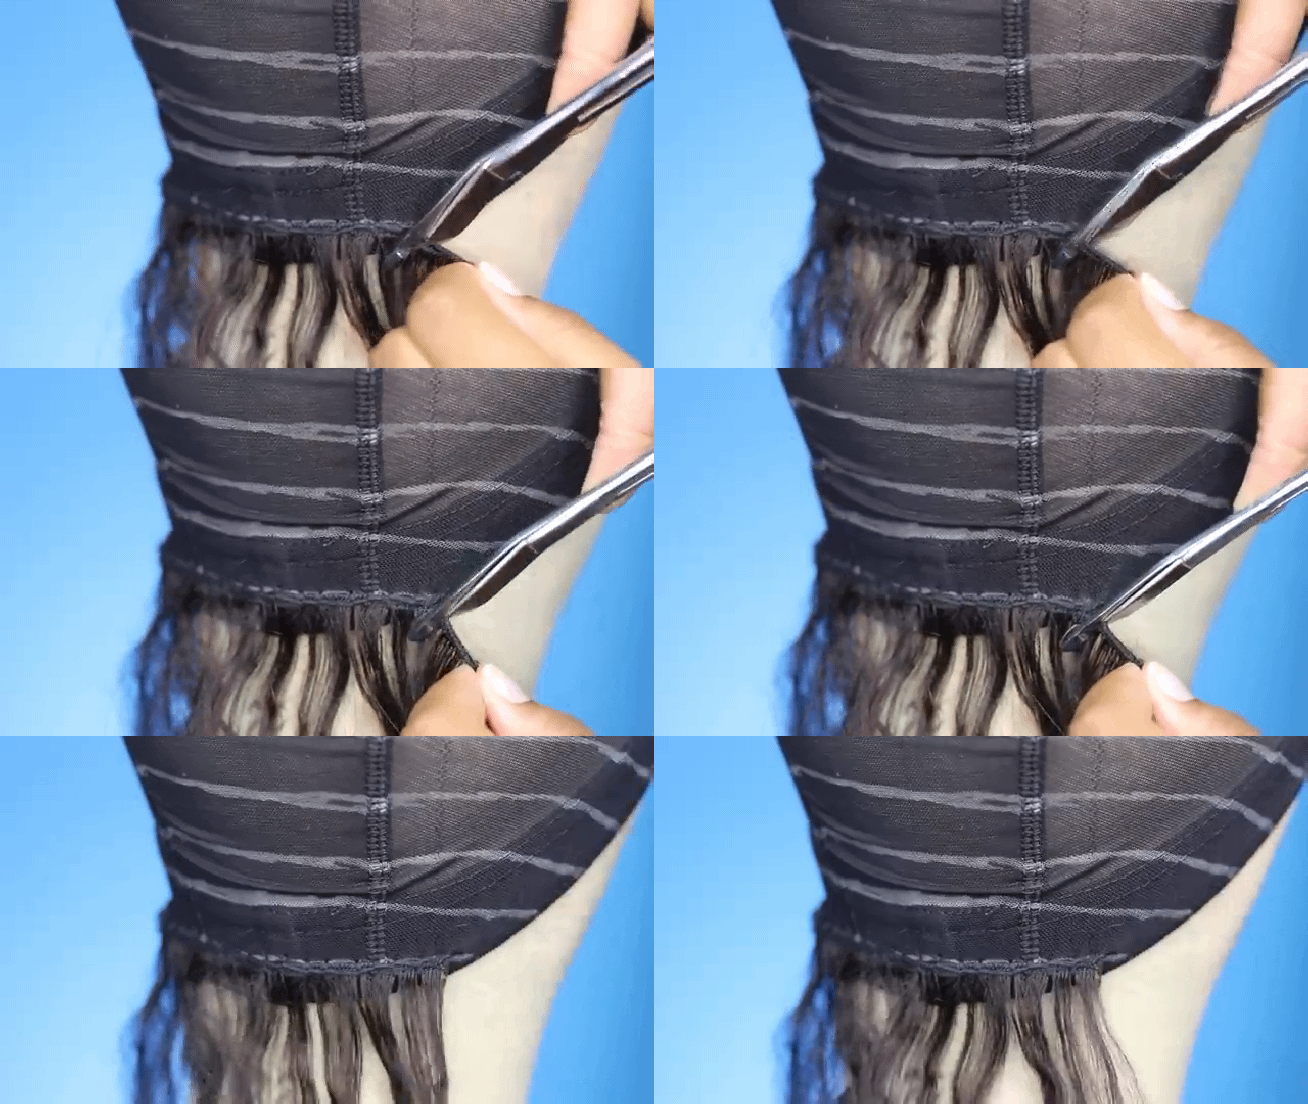
- Continue sewing along the line until you get to the end. When you get to the end, wrap the thread around the needle two to three times and pull to create a natural tight knot.
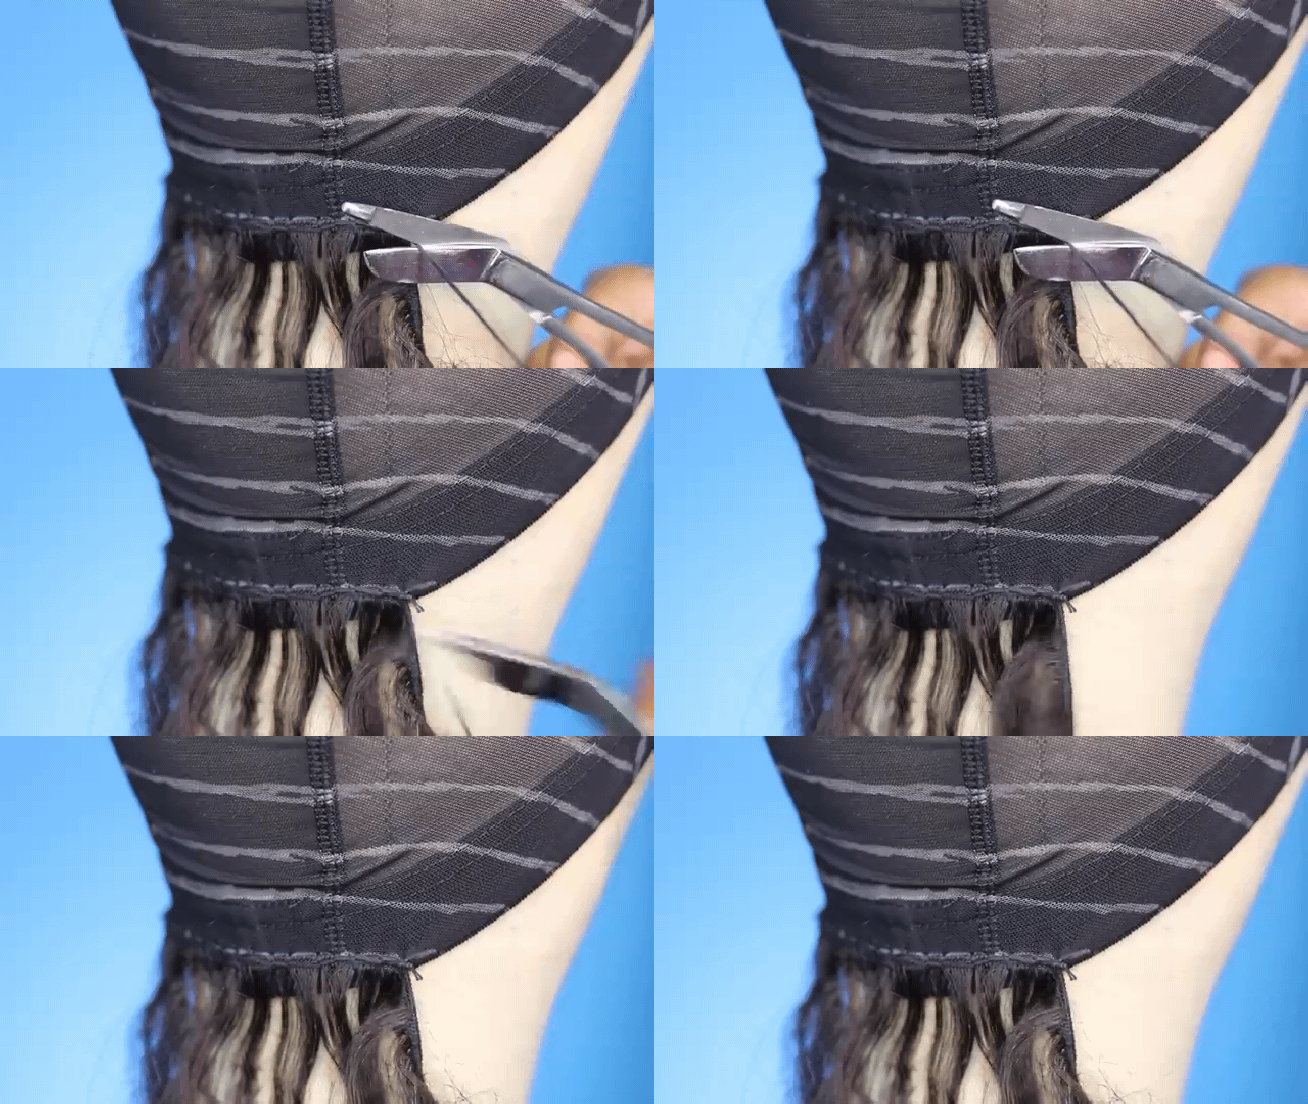
- Once you’re done with that, cut the excess thread and the leftover bundle. Repeat this step for the rest of the lines.
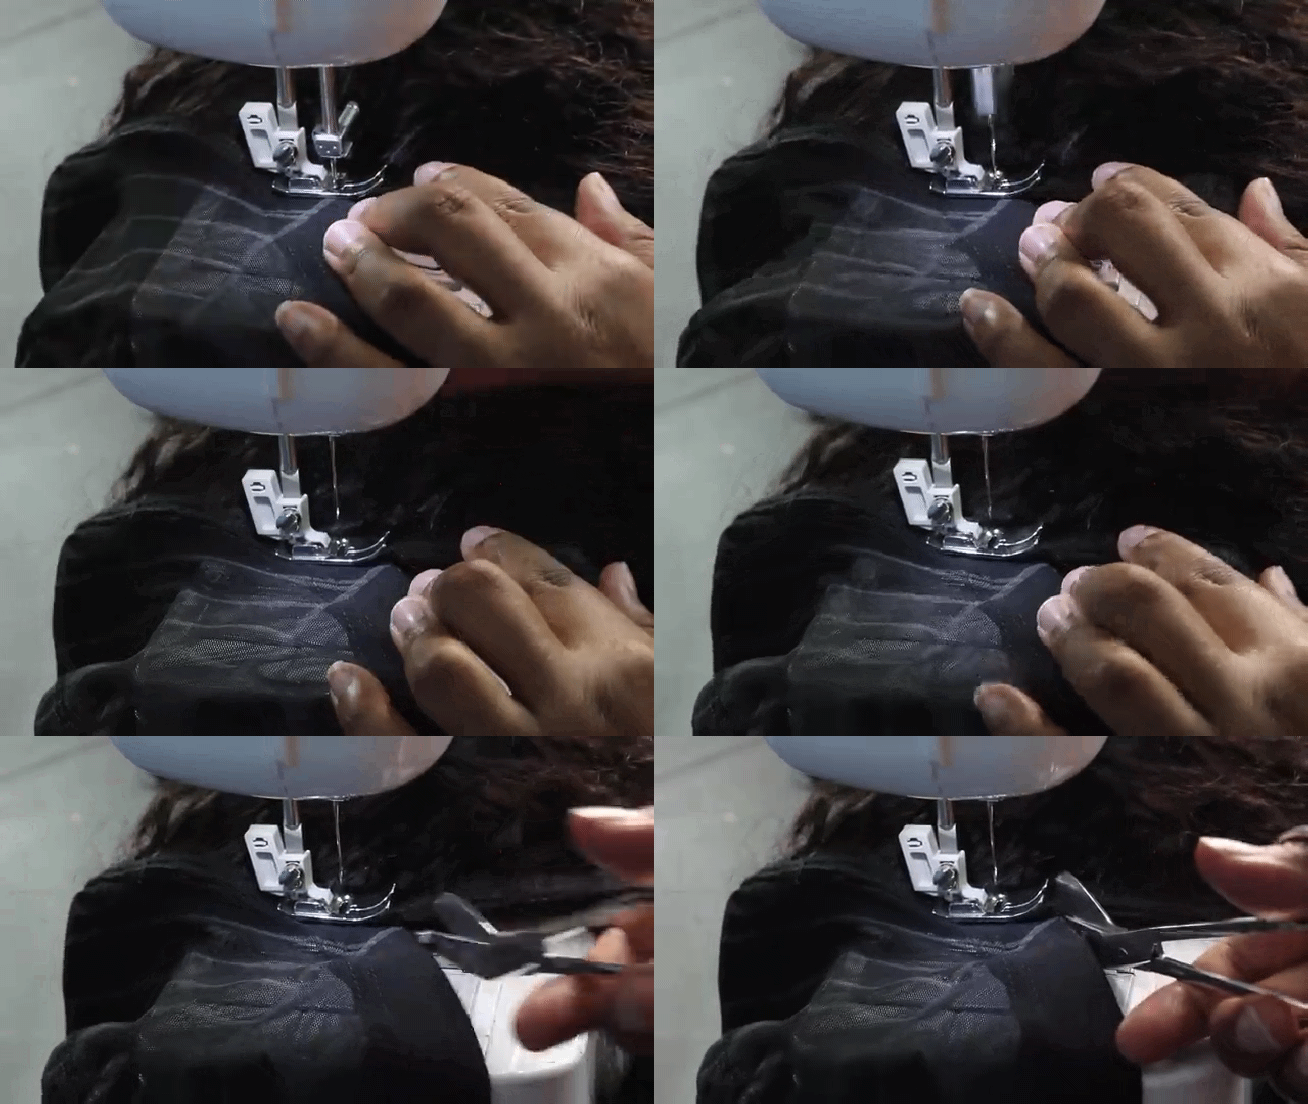
4b. Threading and Sewing: Machine Method
The sewing machine method is faster but you’ll need to know how to operate a sewing machine first.
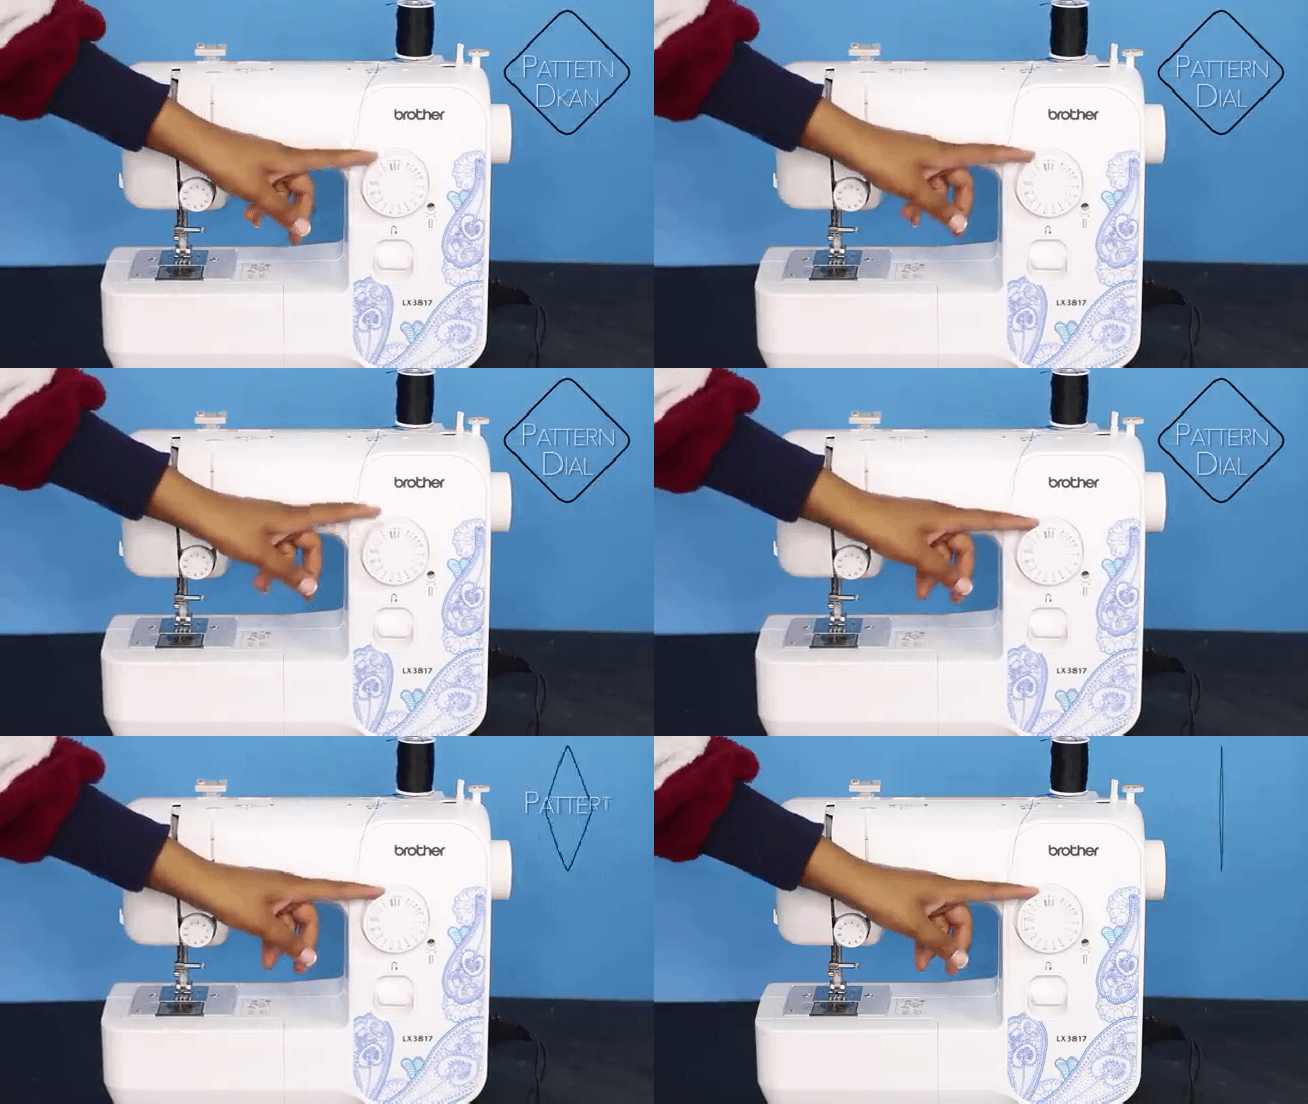
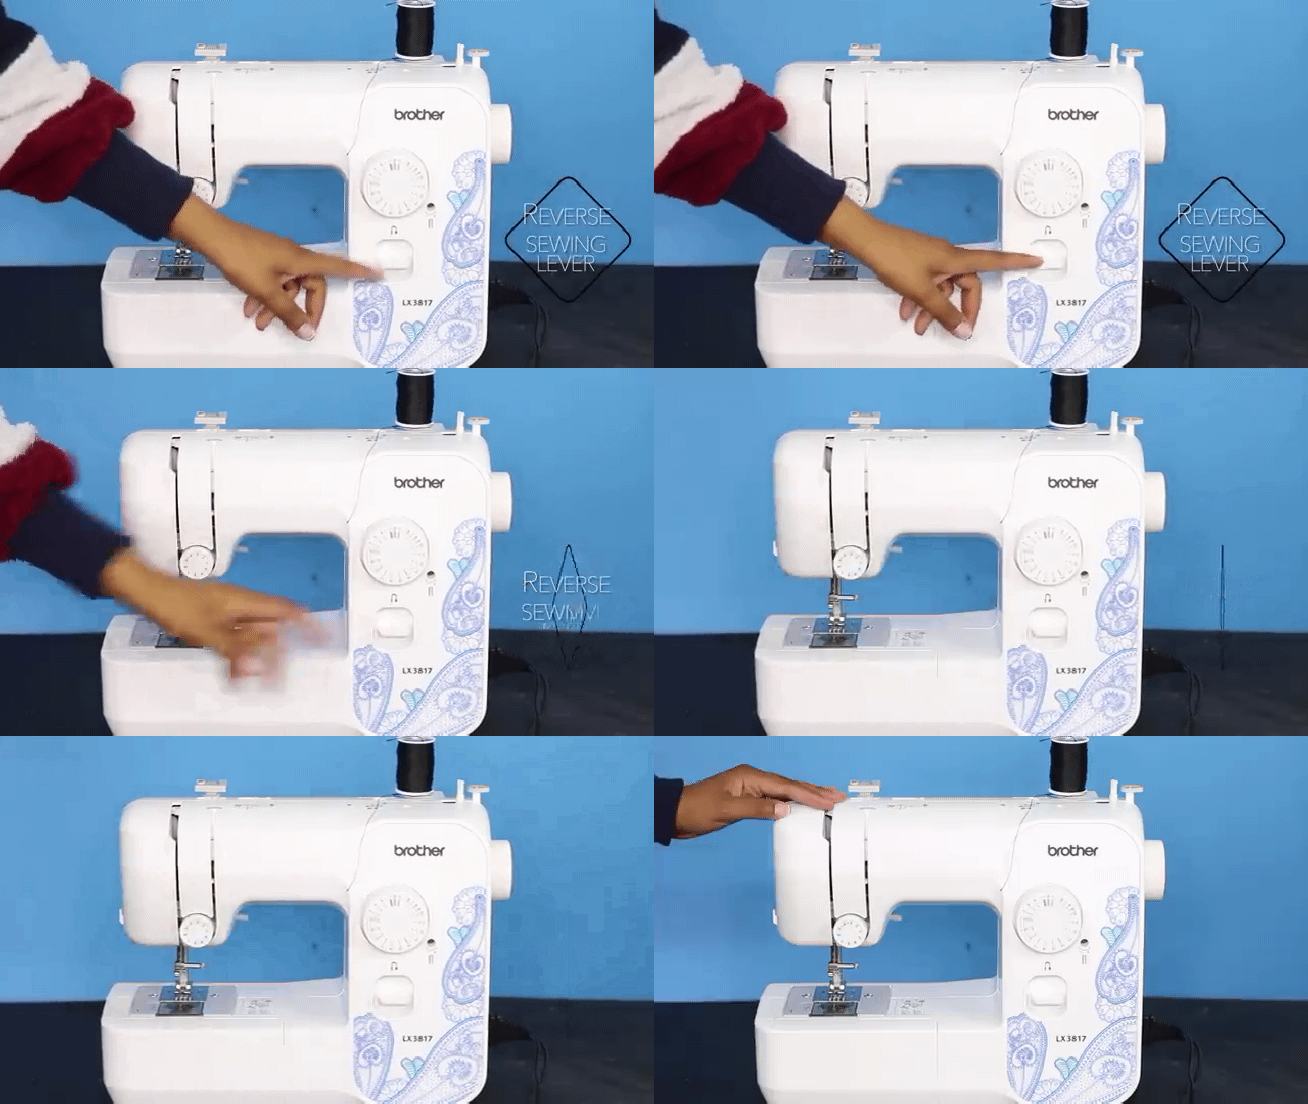
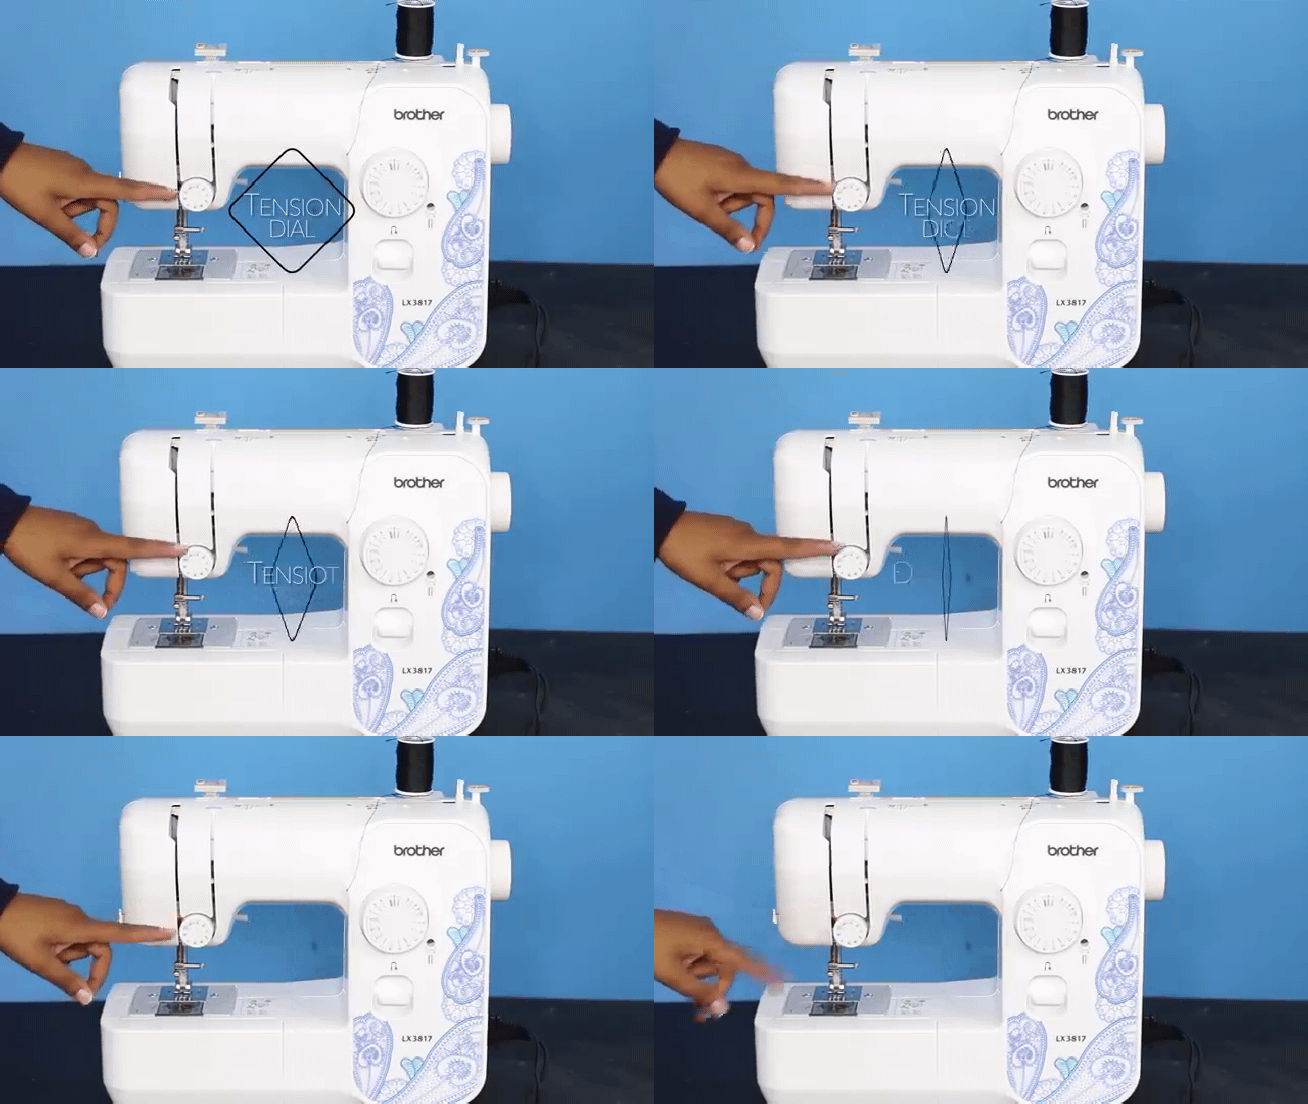
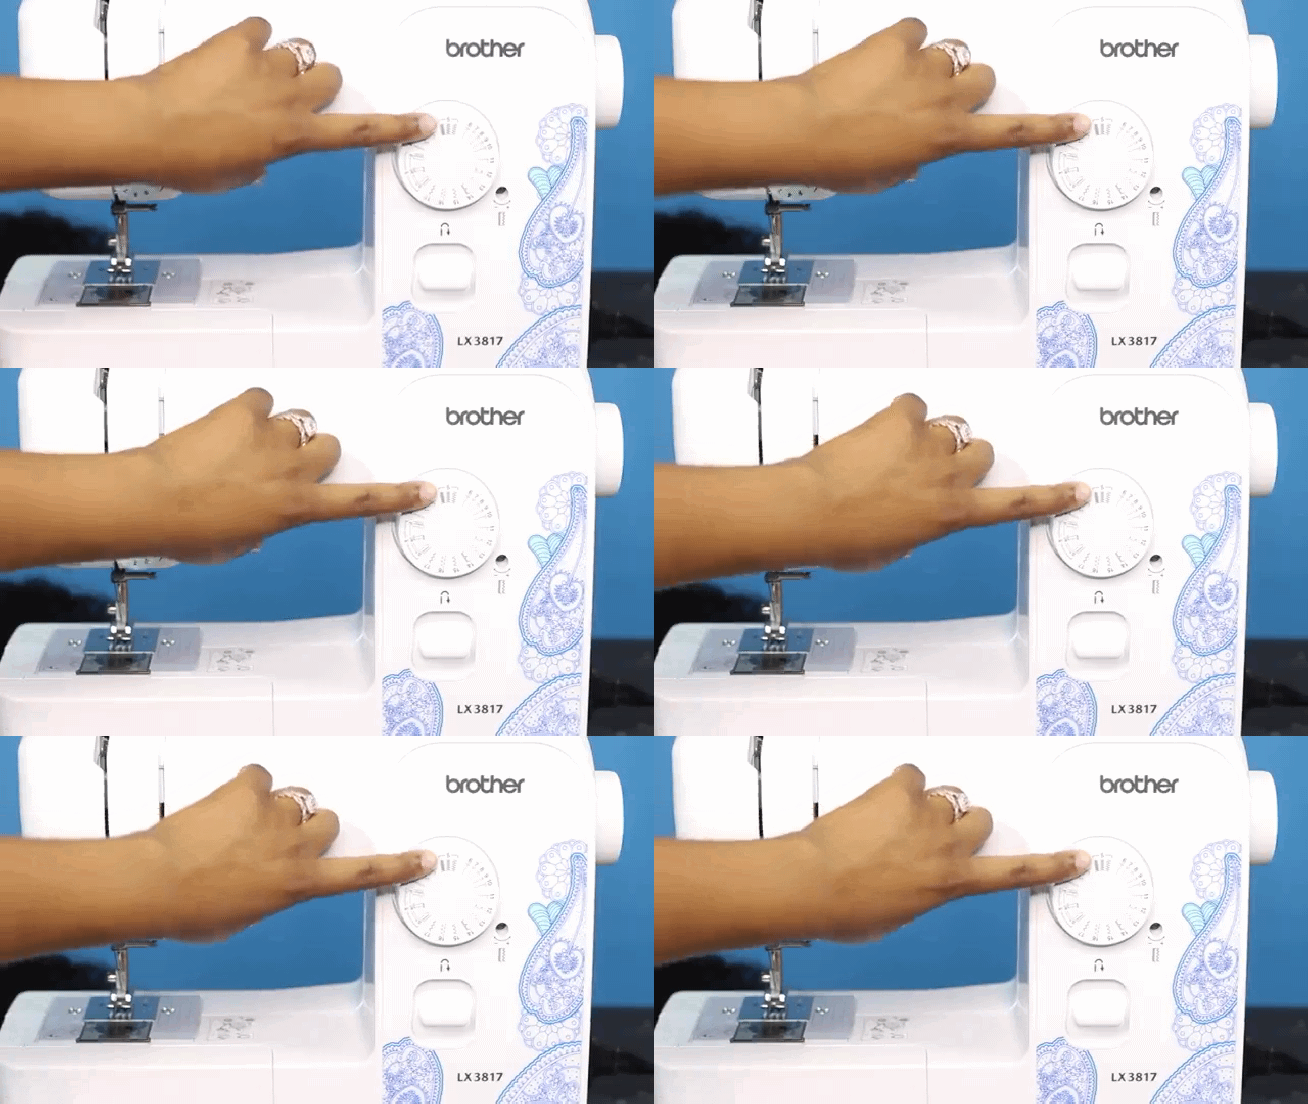
- Here, you’ll be using the pattern dial, the reverse sewing level and the tension dial as you can see in the images above.
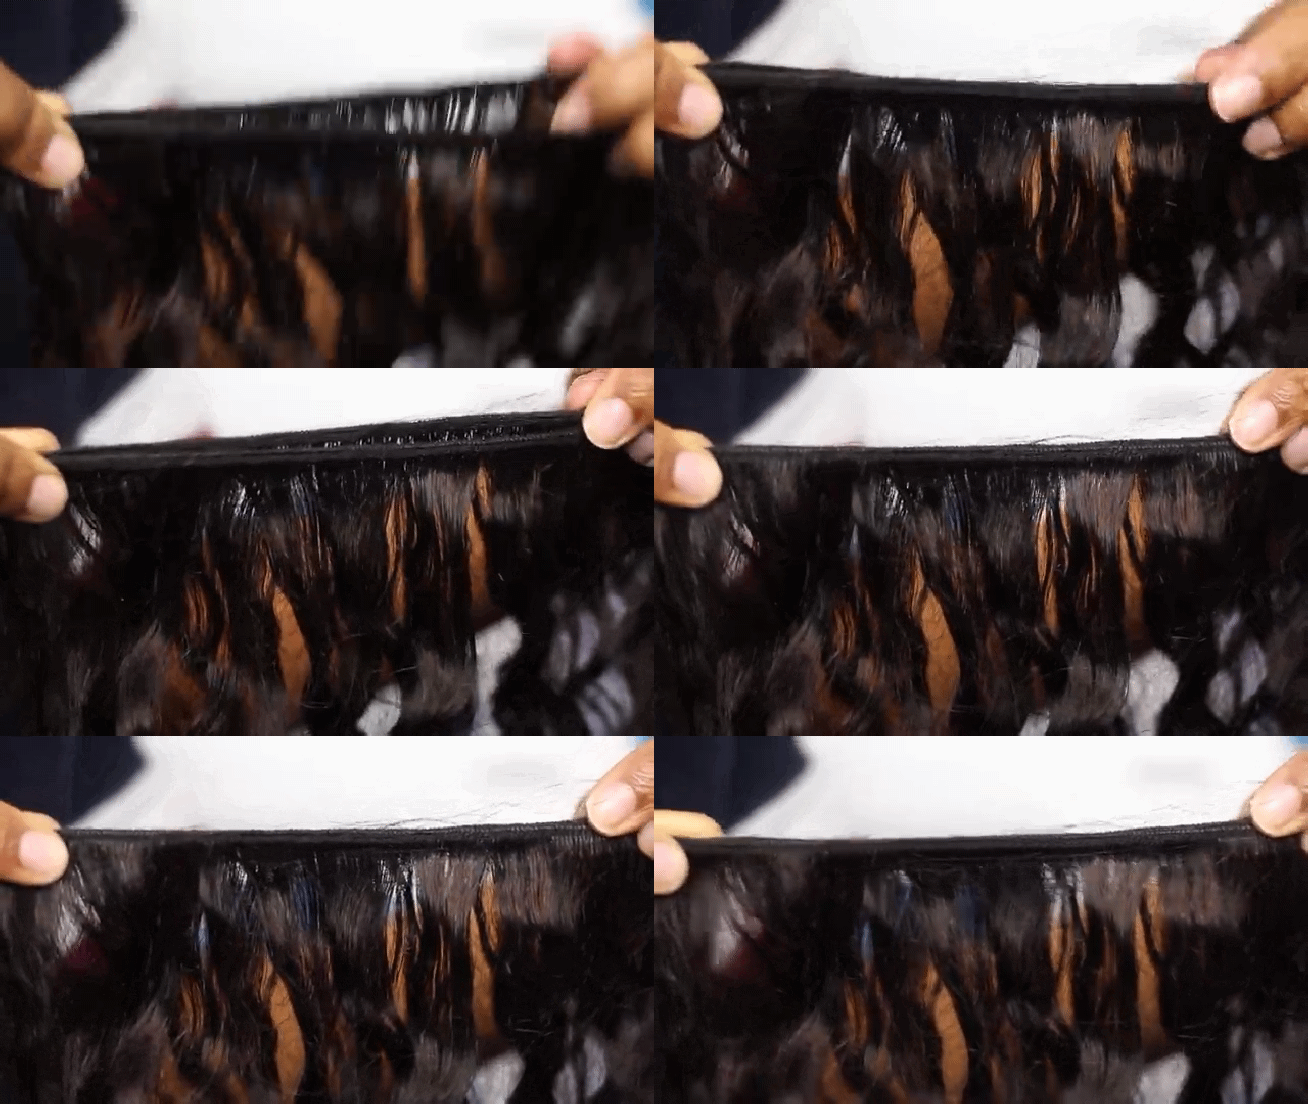
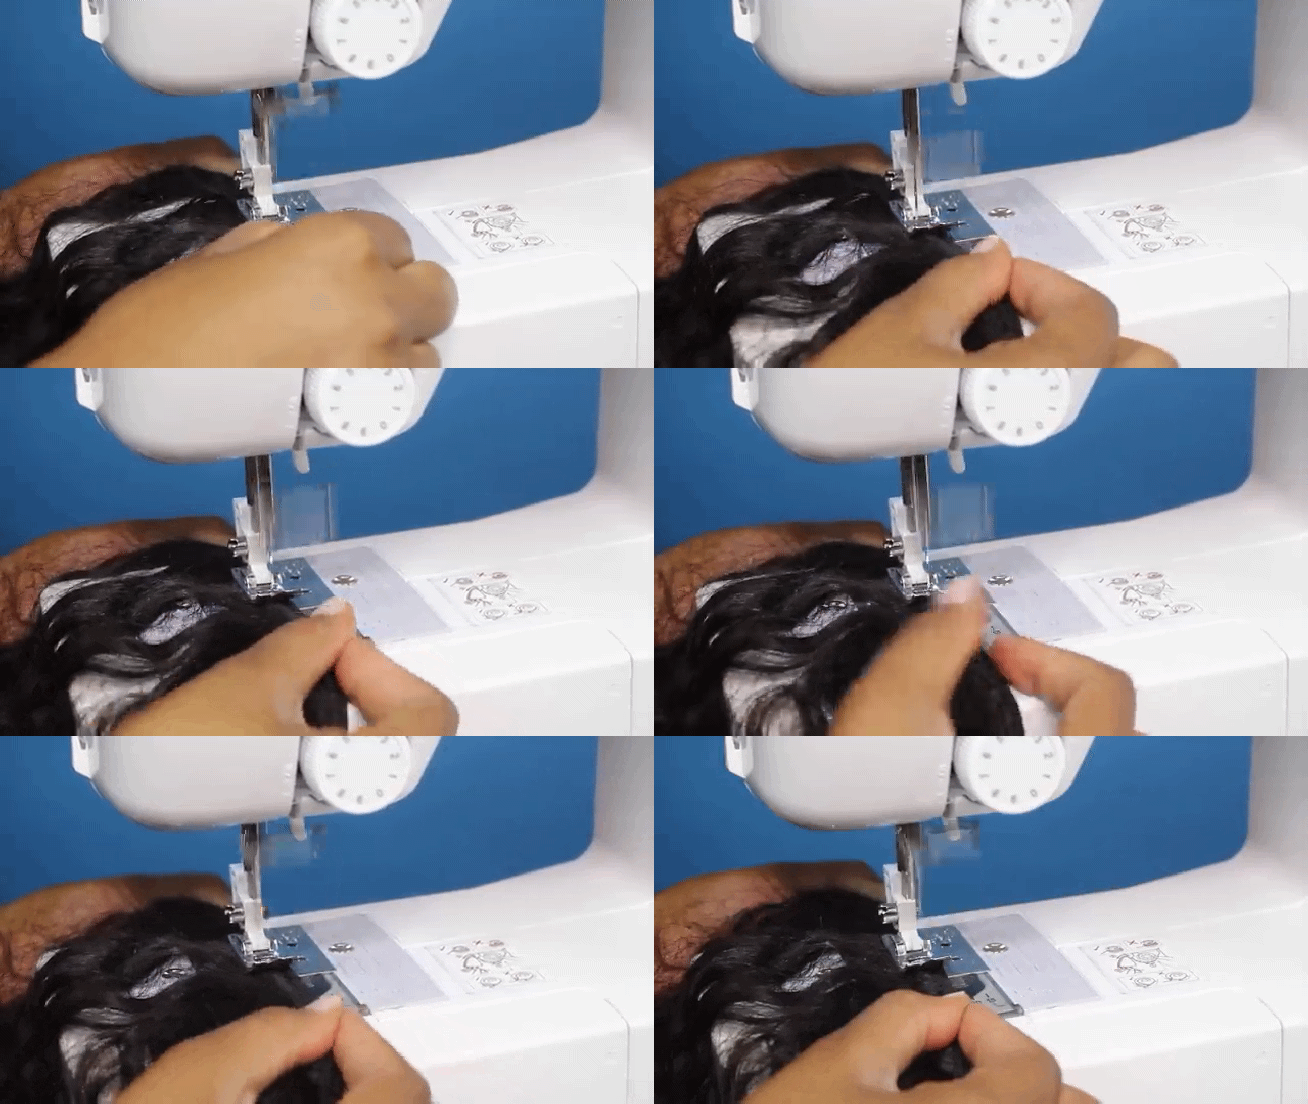
- When creating a wig with the sewing machine, you have to double your weft. This will help you fit as many wefts as you can onto your cap.
- When you’re about to sew the weft onto the cap, select the zigzag pattern five stitch.
- Put the doubled weft underneath the presser foot and sew from one end to another.
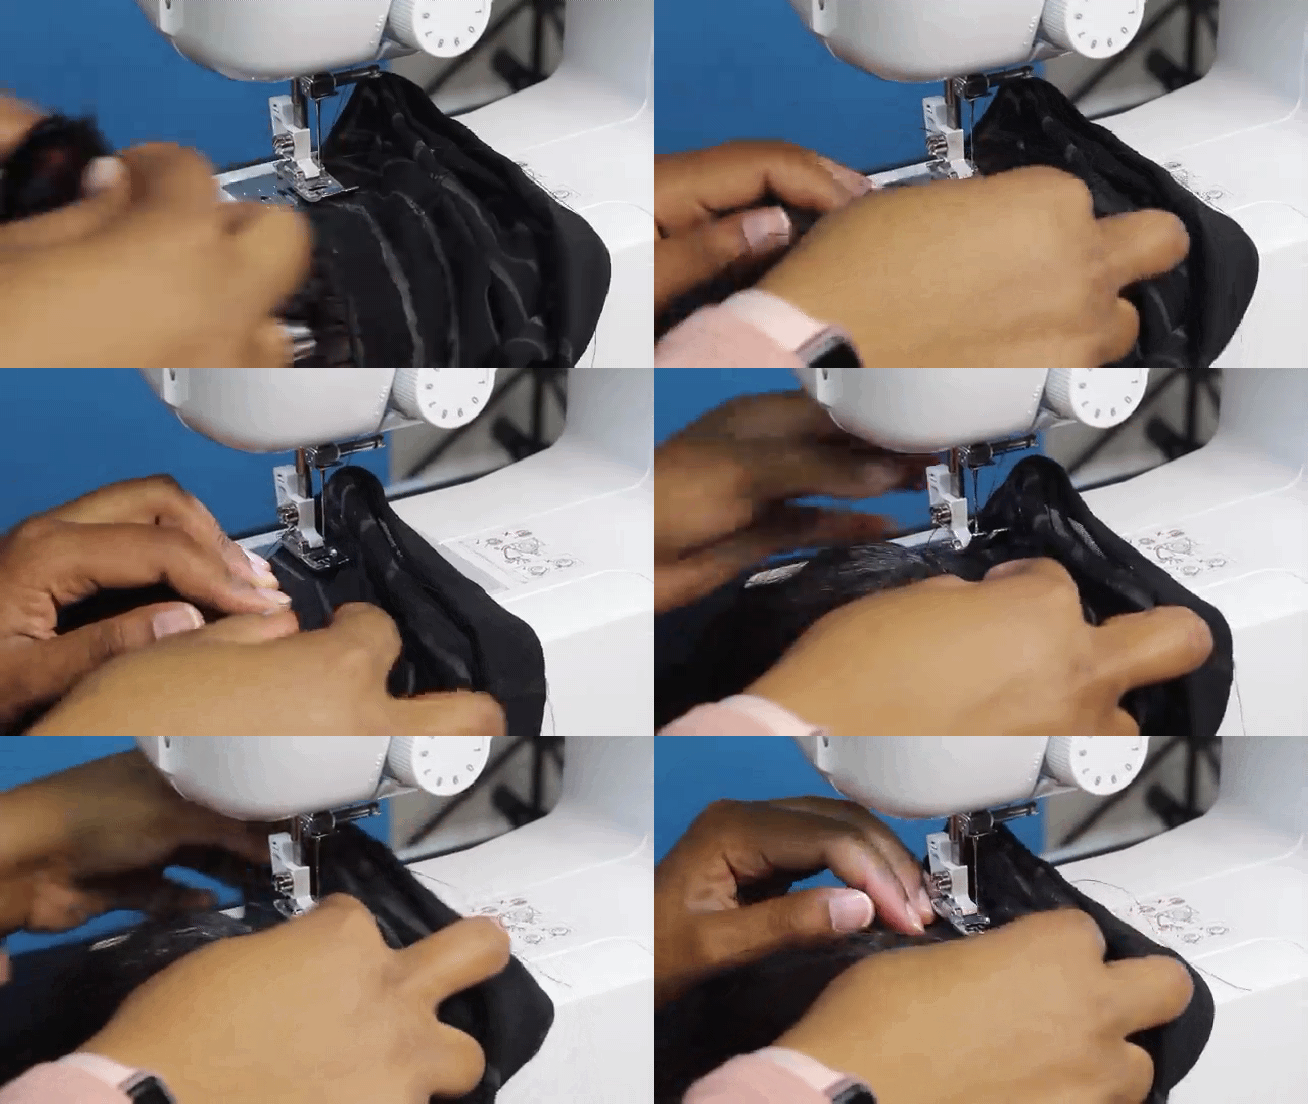
- After this, align the sewed weft with the marked line on the cap and then sew on the sewing machine.
Note: Do not pull or stretch the cap as you sew because this will cause the cap to shrink.
- At the end of the line, do reverse stitching and then cut off the thread and excess bundle. The reverse stitching helps to keep the stitches secure. Repeat this for all the lines.
5. Secure The Frontal/Closure
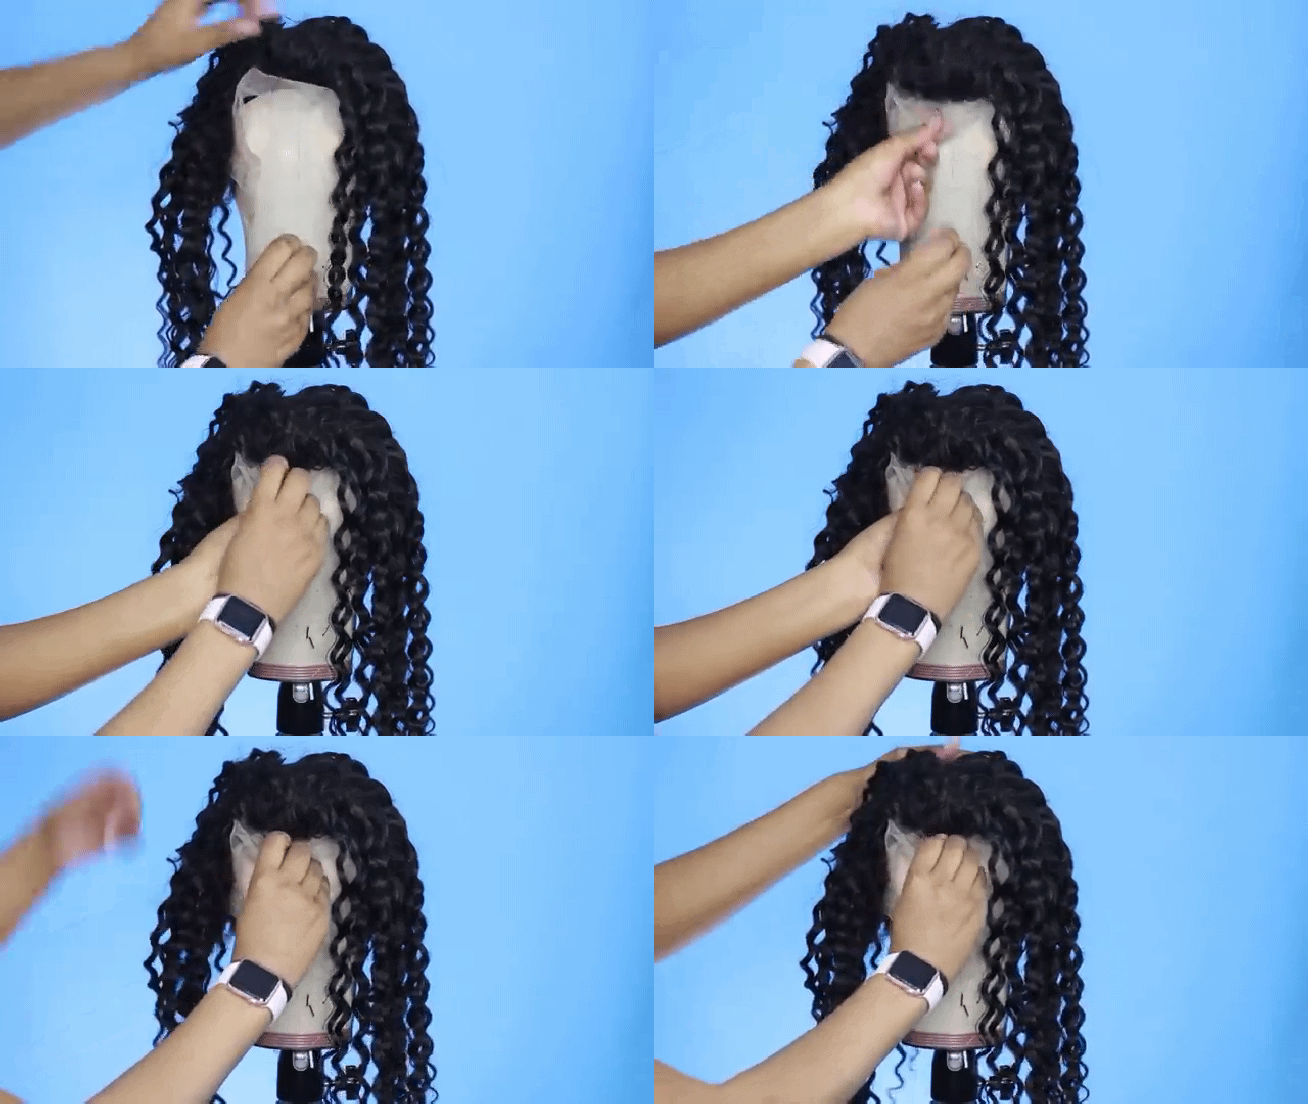
- Secure your frontal/closure by sewing it all the way around to the weft of the bundle.
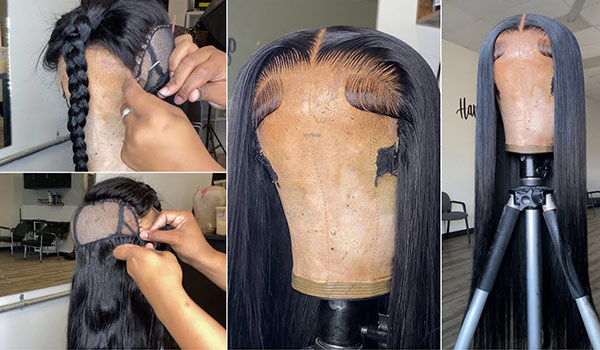
- The inside of your wig should look like this when you are done.
- Good job, you have successfully made your first wig.
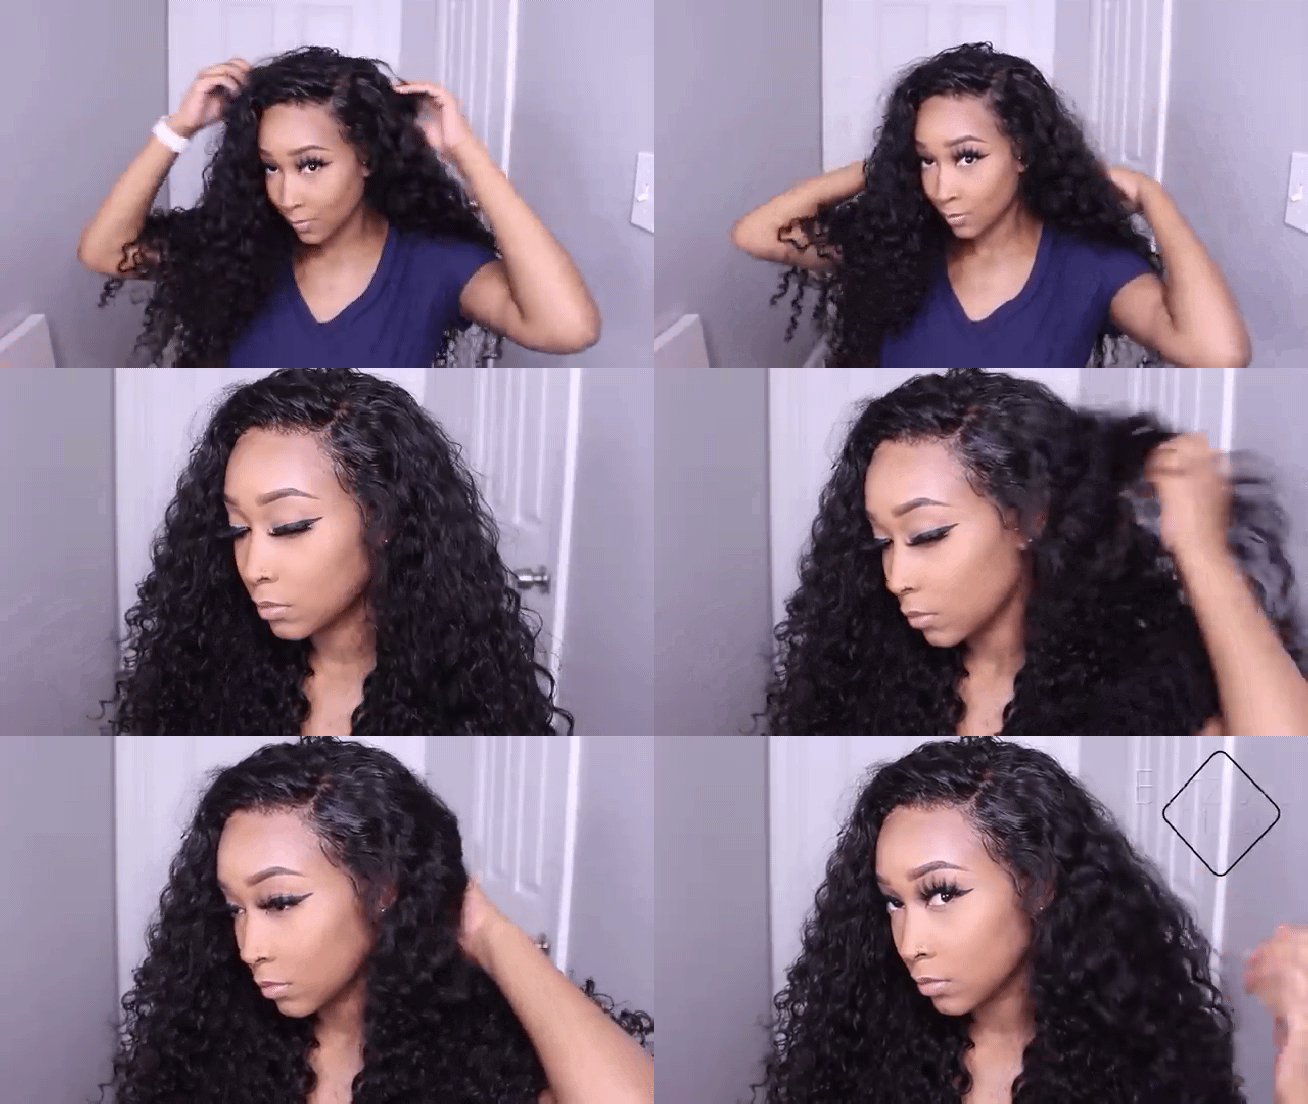
- You can then put on your wig to see how it looks on you.
Note: Do not forget that after making your wig, you have to wash and care for it properly so it can last long.
Conclusion
Your first wig-making experience may not go as smoothly as you hope. Still, do not give up easily. With determination and practice, you are sure to perfect how to make a wig. If you are not a DIY person and would like to shop instead, then you can check here for quality wigs.







 No products in the cart.